Agent AI Integration with Salesforce Service Cloud Voice (Amazon Connect Telephony)
The Agent AI integration with Salesforce Service Cloud Voice (Amazon Connect Telephony) combines Salesforce CRM with Amazon Connect’s telephony system. Agents get real-time AI-driven insights, suggestions, and automation, resulting in improved response times, customer satisfaction, and operational efficiency.Prerequisites
Before integrating Agent AI with Salesforce Service Cloud Voice, meet the following prerequisites:- In Salesforce
- Service Cloud Voice license must be available.
- Kore Agent AI Salesforce package installed.
- In Kore
- Agent AI admin permission is required.
Salesforce Service Cloud Voice Setup
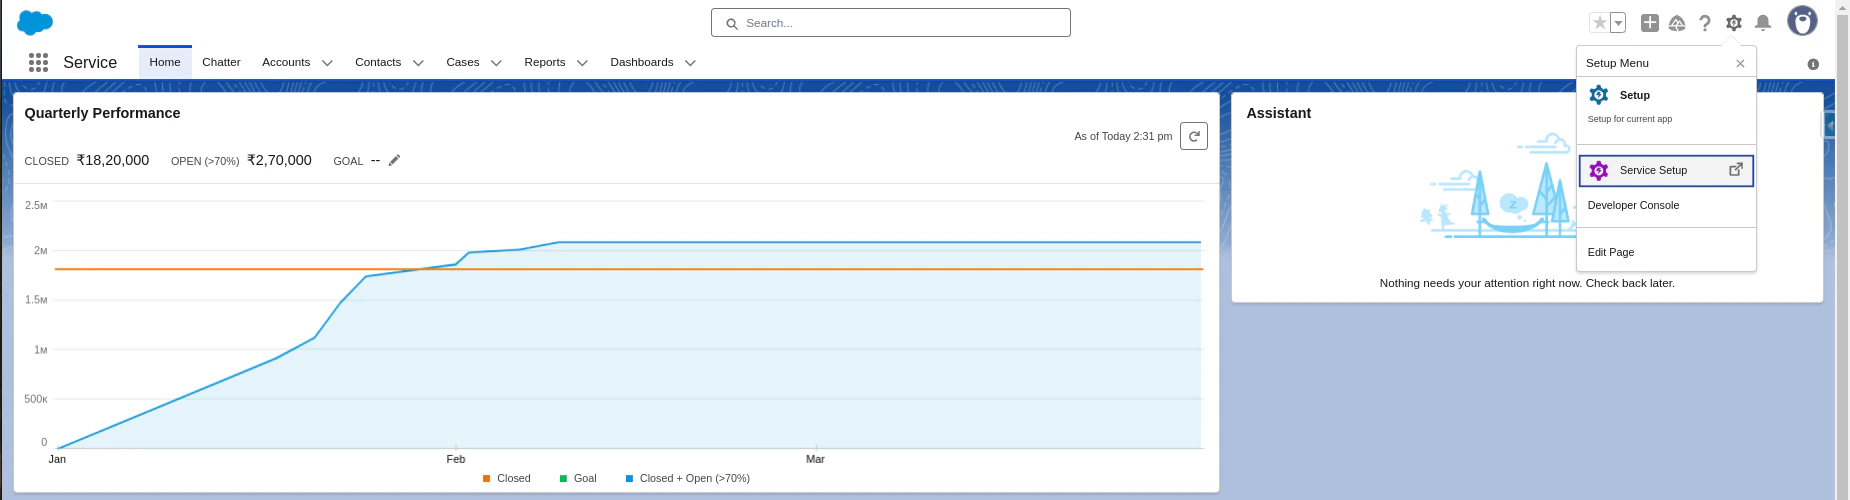
- Sign in to Salesforce.
-
Click the Gear icon > Service Setup.
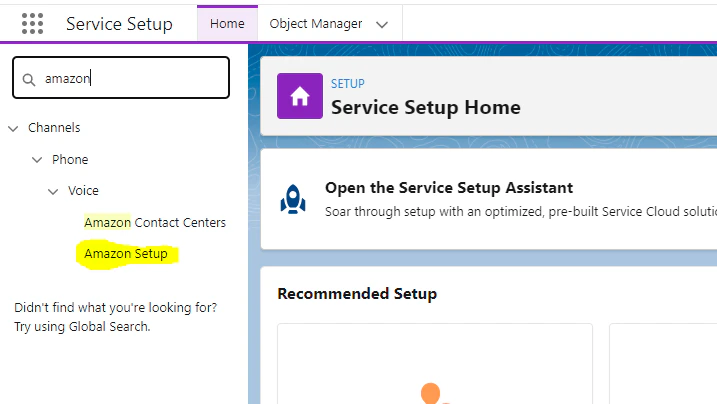
-
Type amazon in the quick search box, then select Amazon Setup from the suggestions list.
-
Select Enable Omni-Channel.

-
Turn on the Enable Service Cloud Voice toggle.

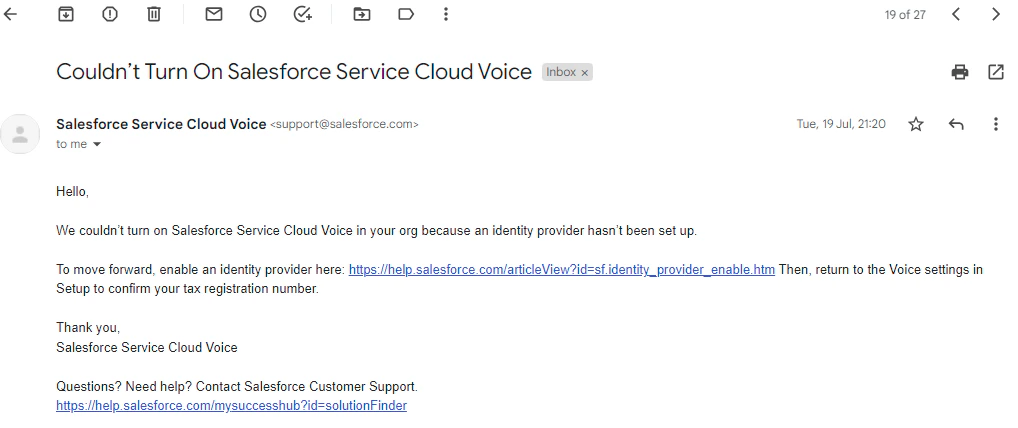
-
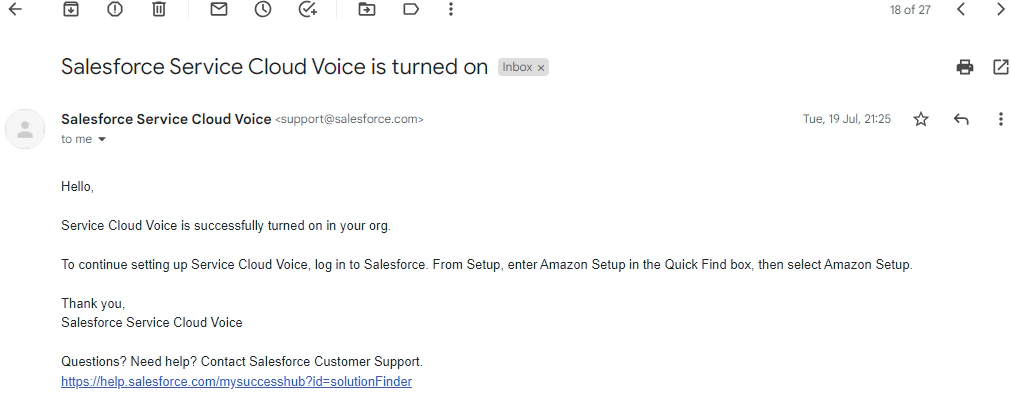
You receive the following email for further steps:

- Reset the password for the AWS account.
-
Turn on Service Cloud Voice again; you receive the following email:
-
Follow the steps in the email. You receive the following email when Service Cloud Voice is successfully enabled:
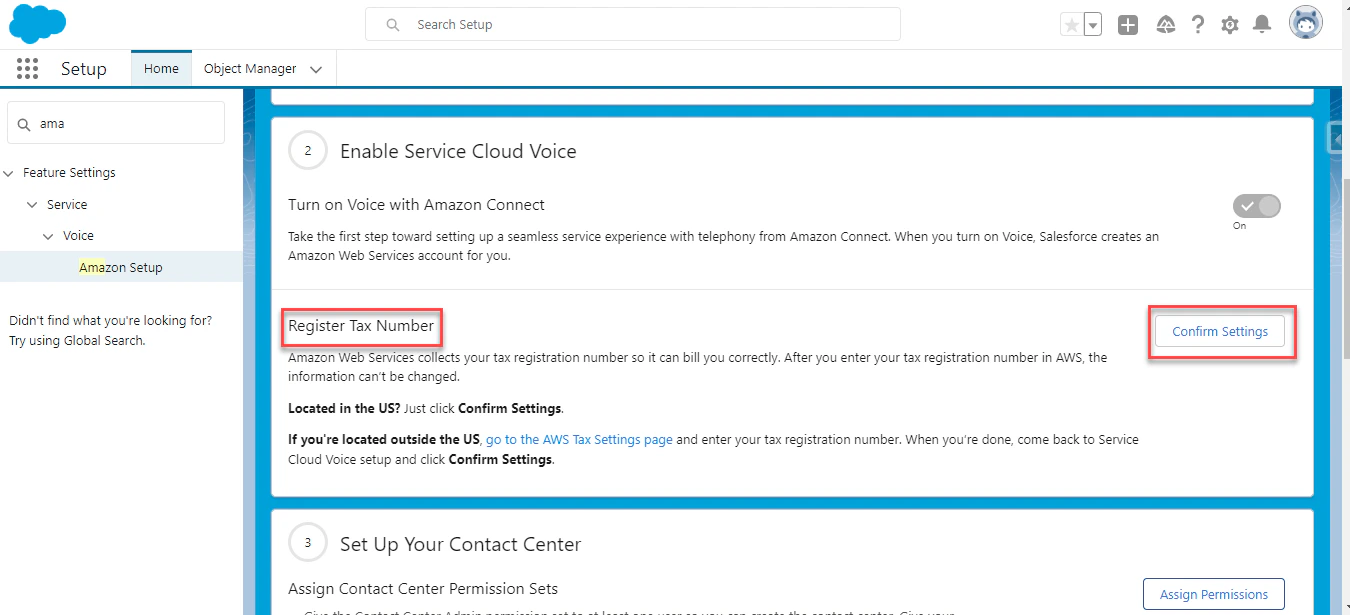
- Sign in to the AWS account, and provide the GST number in the Account > Tax Settings page.
-
Click Confirm Settings under the Register Tax Number section.
-
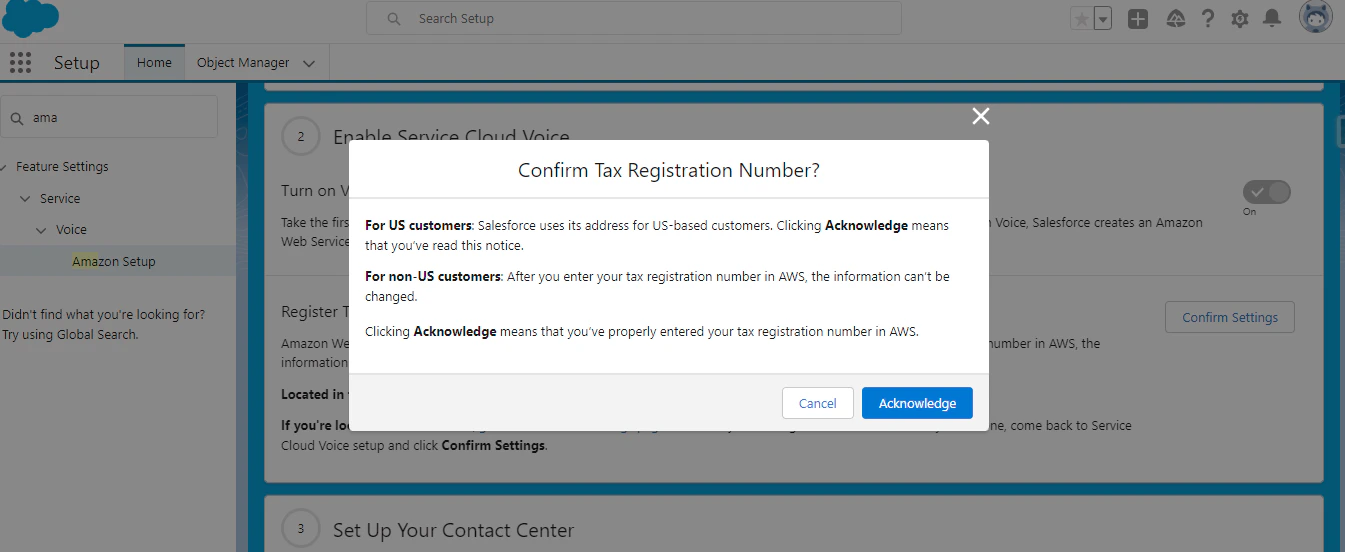
Click Acknowledge.
-
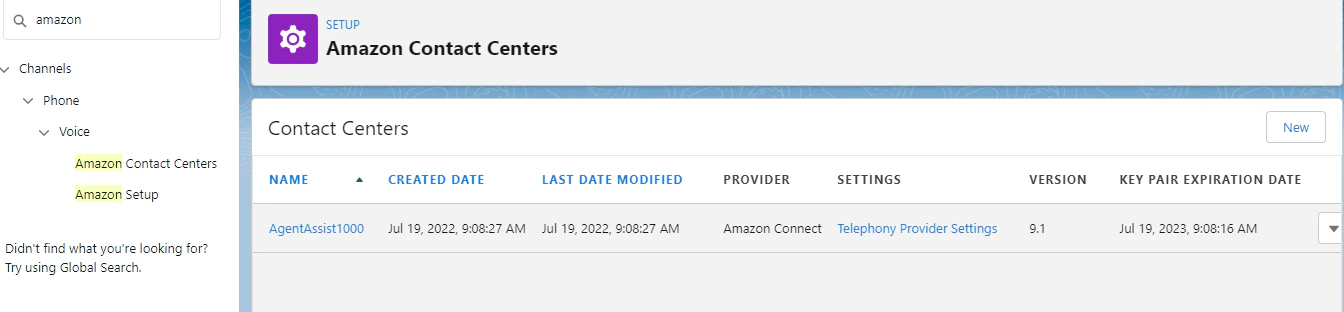
Click New to create an Amazon Contact Center from the Salesforce Service Setup. This creates the Amazon Connect instance in AWS.
-
Open the AWS Connect instance:
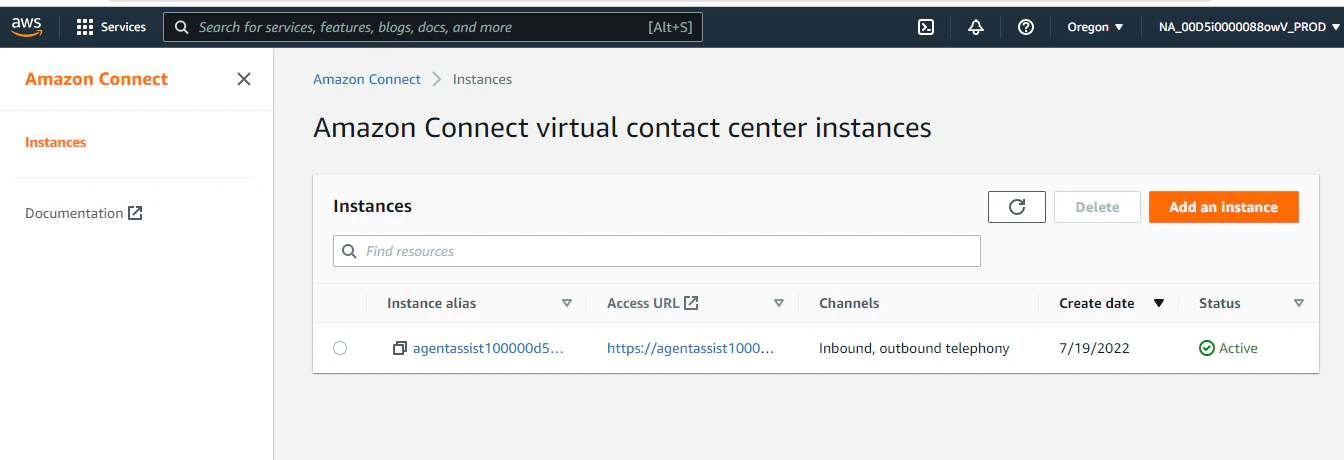
-
Sign in to the AWS Connect instance, and click Manage Phone numbers > Claim a number.
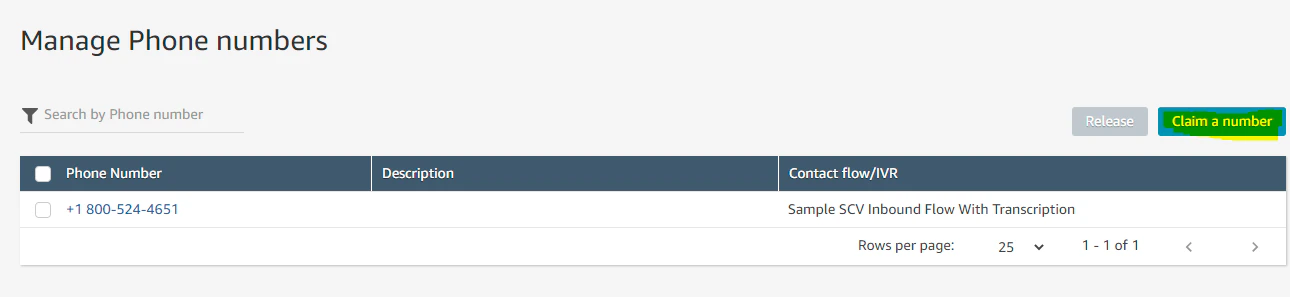
-
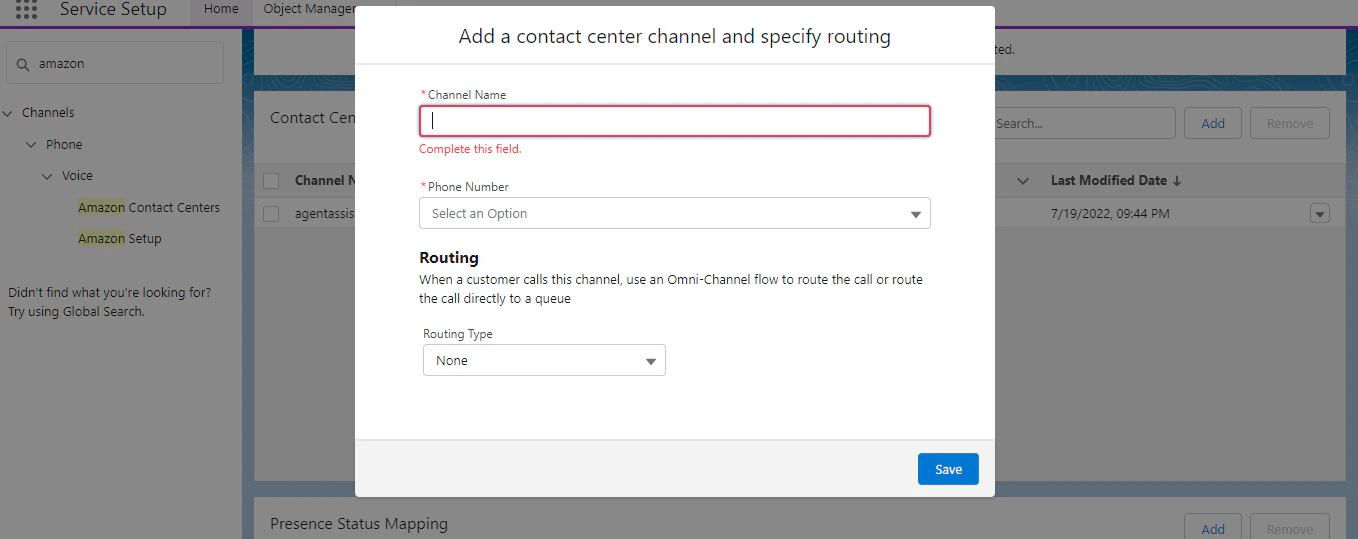
Go to Salesforce Amazon Contact Center, and map the contact center channels.
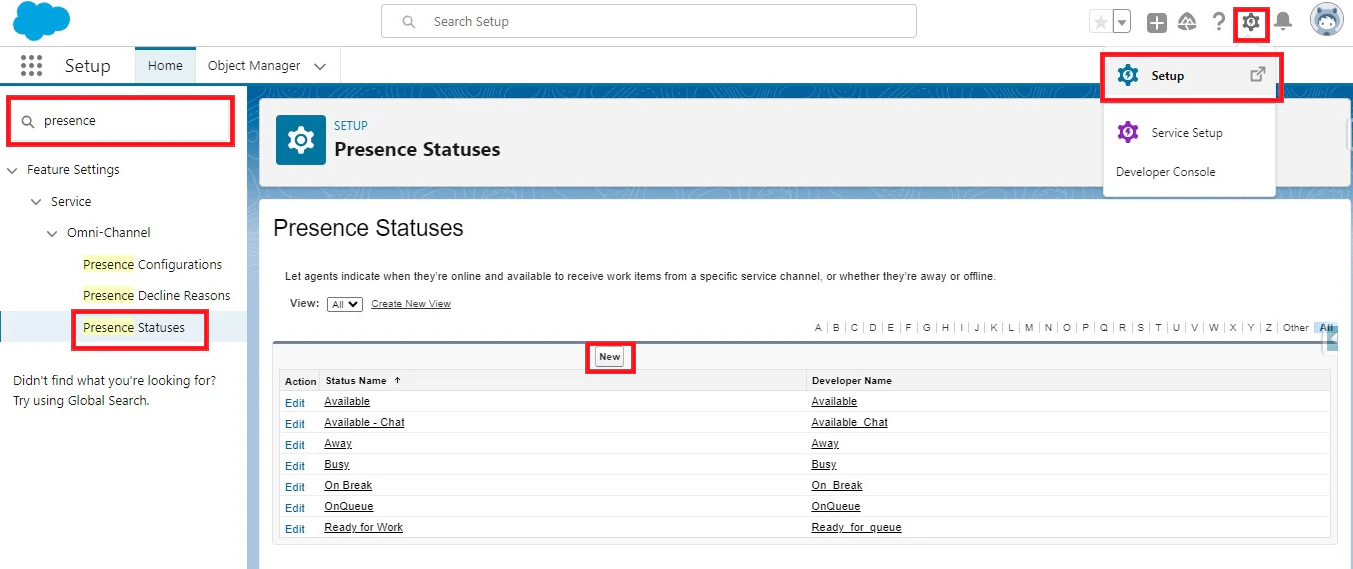
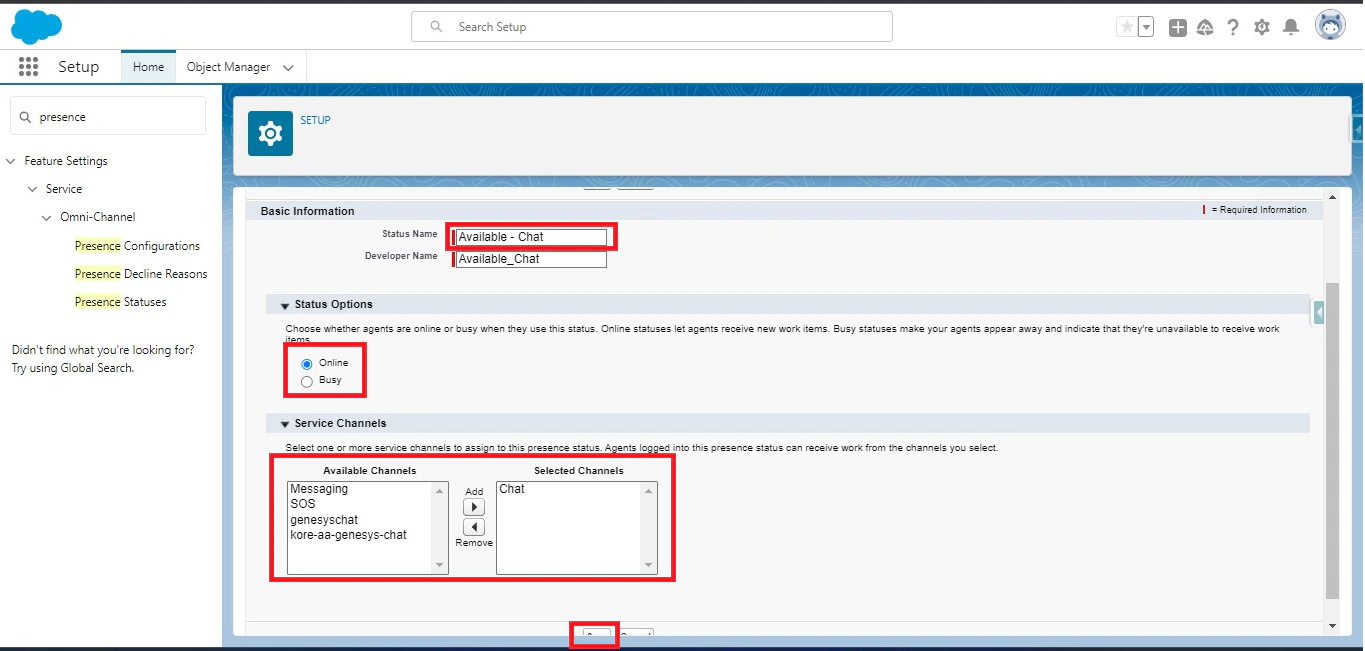
Create Agent Presence Status
- Click the Gear icon > Setup.
- Type Presence Statuses in the quick search box, then click Presence Statuses in suggestions.
-
Click the New button.
- Enter the Status Name, and select Status Options.
-
Select the Service Channels, and click Save.
Add Omnichannel to the Utility Bar
- Click the Gear icon, and enter “App Manager” in the search box.
- Click APP MANAGER from the suggestions list.
-
Search for the Service Console, click the dropdown list against it, and click Edit.

- Click Utility Items (Desktop Only) > Add Utility Item.
-
Search for Omni-Channel, and select it.
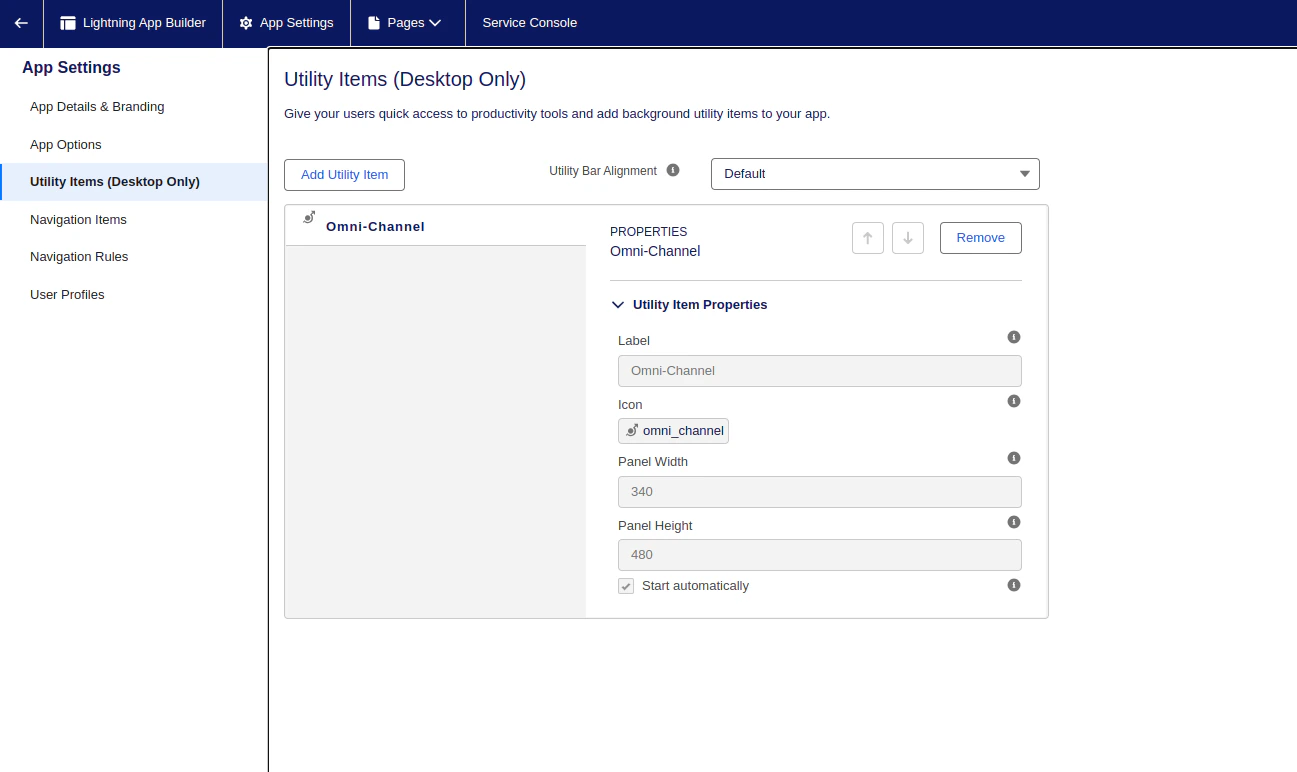
- Rename the label if required, then click Save.
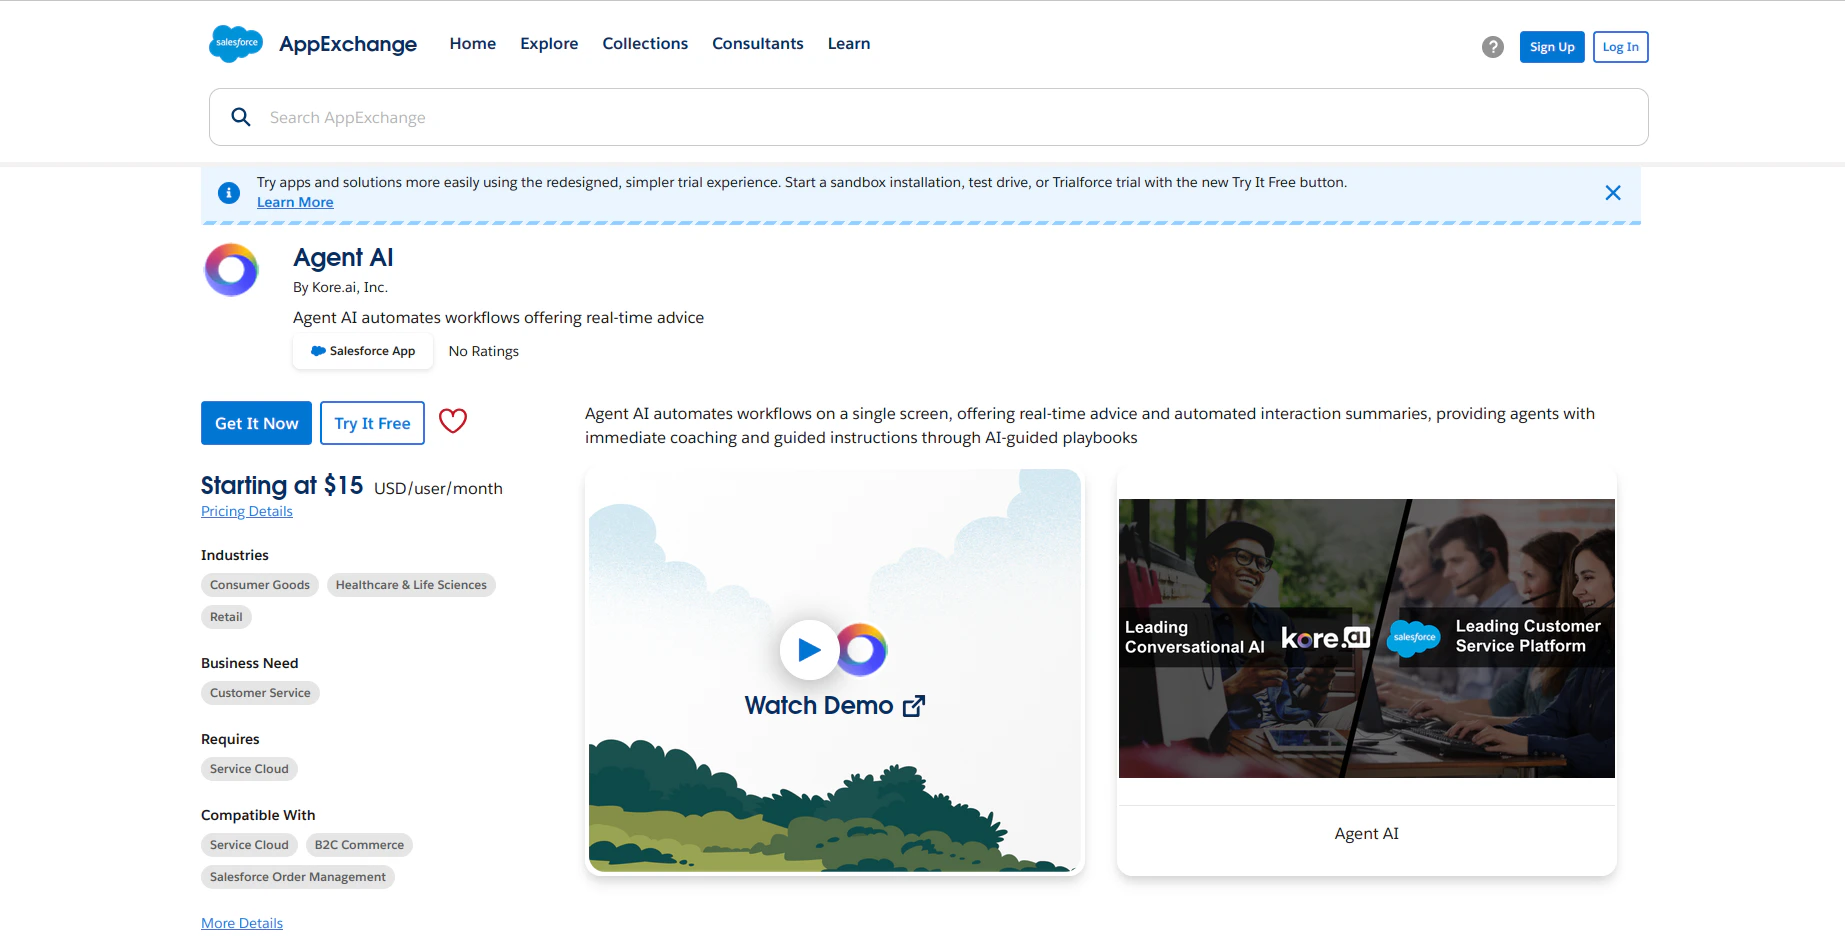
Install Agent AI Package
The Kore Agent AI package installation is a simple 3-step process:-
Visit Salesforce AppExchange.
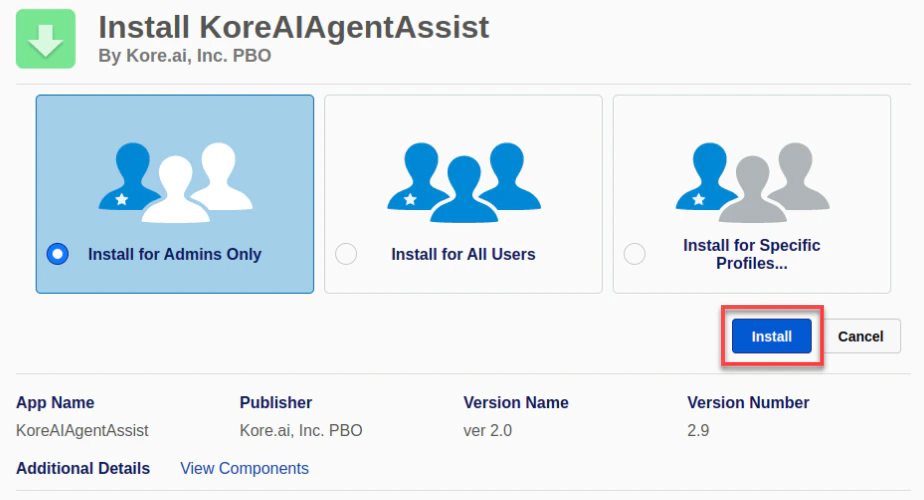
- Select one of the three available options: Install for admins only, Install for All Users, or Install for specific Profiles.
-
Click Install.
Configure Agent AI for Salesforce
This section covers the post-installation steps for Agent AI integration with Salesforce.Enable Kore Agent AI Package Features
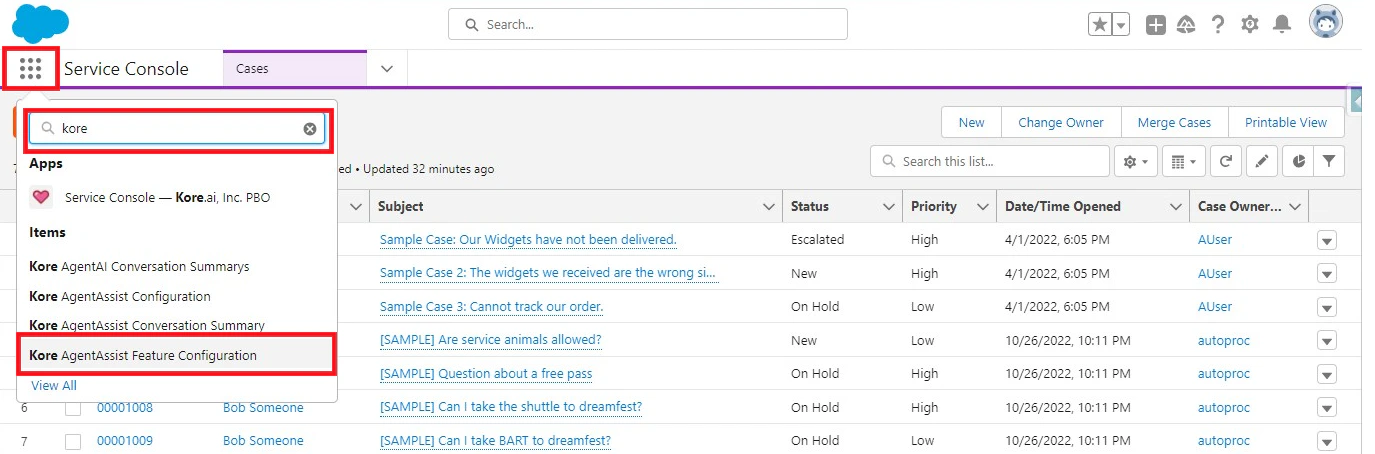
- Click the app launcher, and type Kore in the quick search box.
-
Click Kore AgentAssist Feature Configuration from the suggestions list.
-
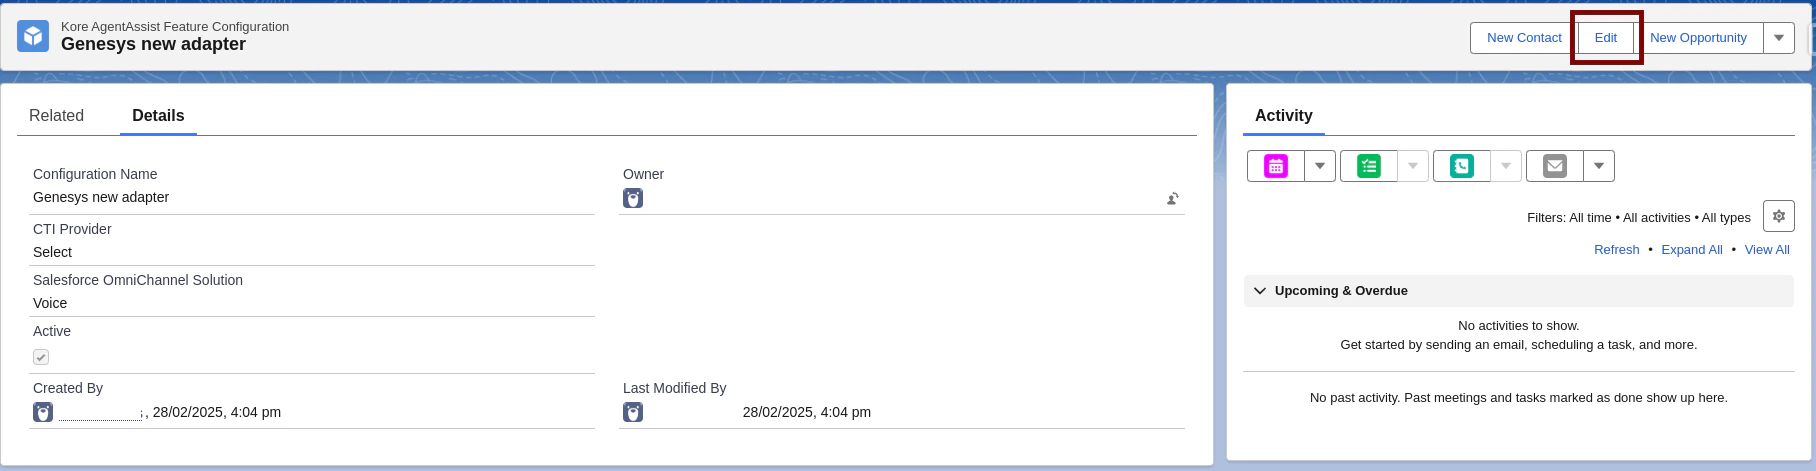
Click the New button in the top-right corner, and select the desired features in the package.
- Configuration Name: Provide a name for the configuration.
- CTI Provider: Skip this field.
- Salesforce OmniChannel Solution: Select “Chat and Voice” or “Voice” based on your license.
- Active: Only one feature configuration can be active at runtime.
-
Click Save.

-
Click Edit to modify existing feature configurations.
Set up Widget Configuration
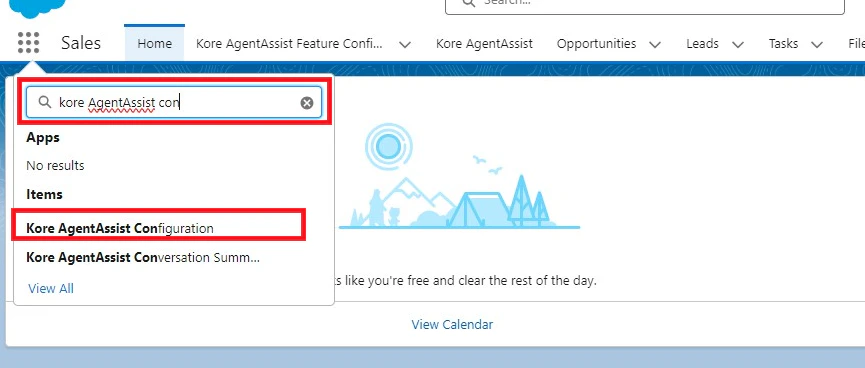
- Click the app launcher in the top-left corner.
-
Type Kore AgentAssist Configuration in the quick search bar, then click Kore AgentAssist Configuration from the suggestions list.
-
Click the New button to add a configuration.
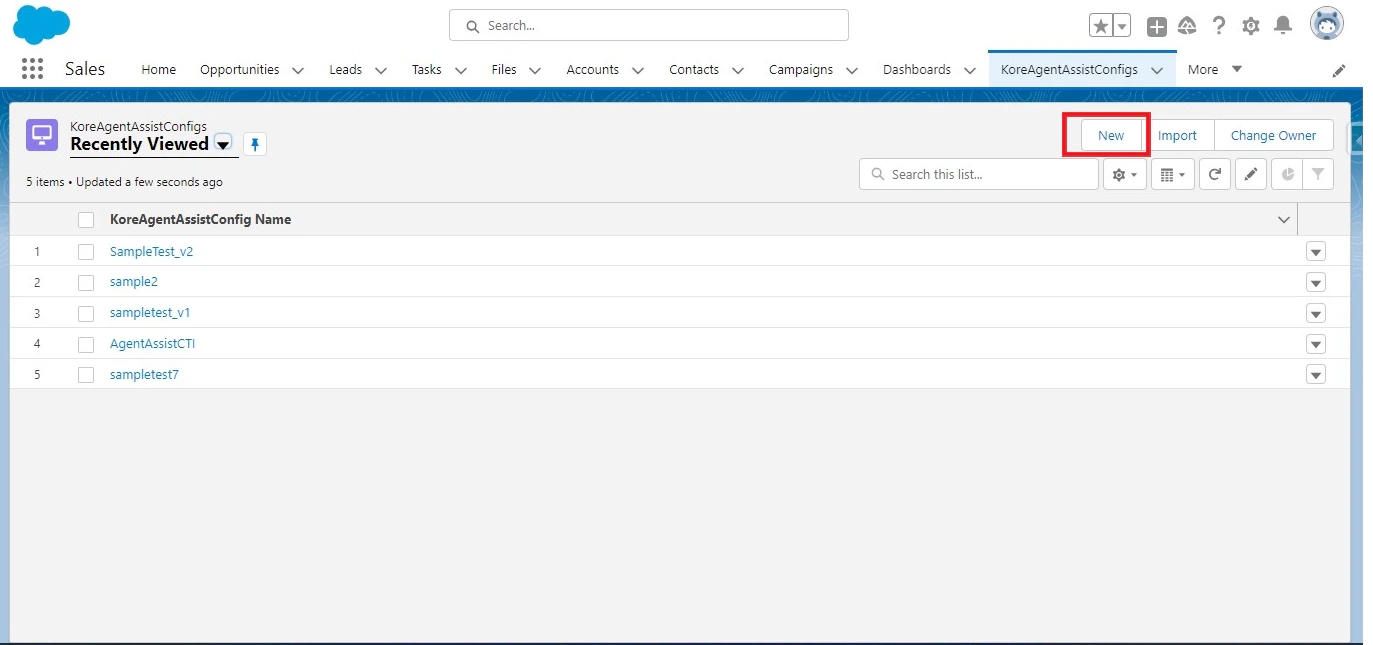
-
Fill in all the details, and click Save.
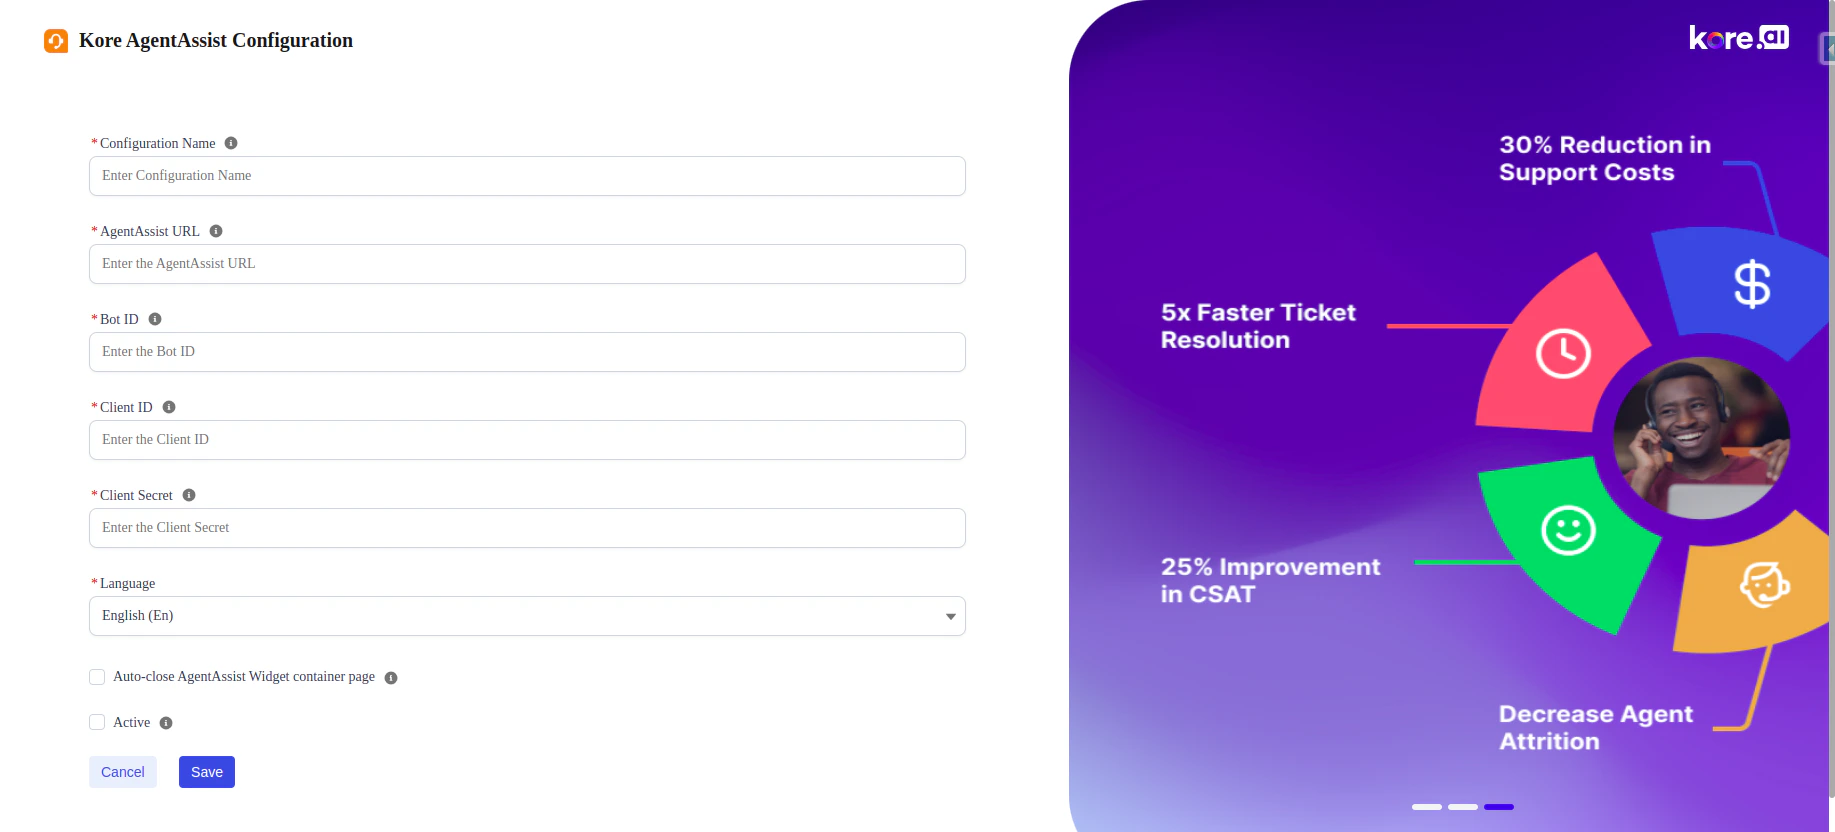
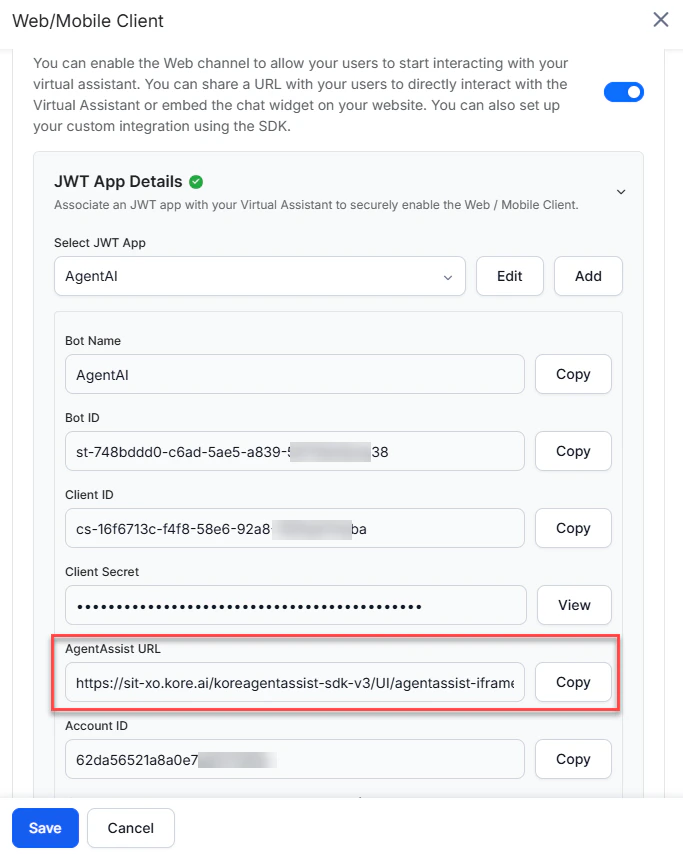
Note: In the AgentAssist URL field, use the URL from Agent AI > Flows & Channels > Channels > Digital > Web/Mobile Client of your Agent AI instance.
Note: Only one configuration can be active at a time; the active configuration is used at runtime.
- Choose the language to enable for the Agent AI widget. The default language is English.
Place the Widget in the Voice Calls Record Page
-
Click the app launcher, and search for Voice Calls in the quick search box.
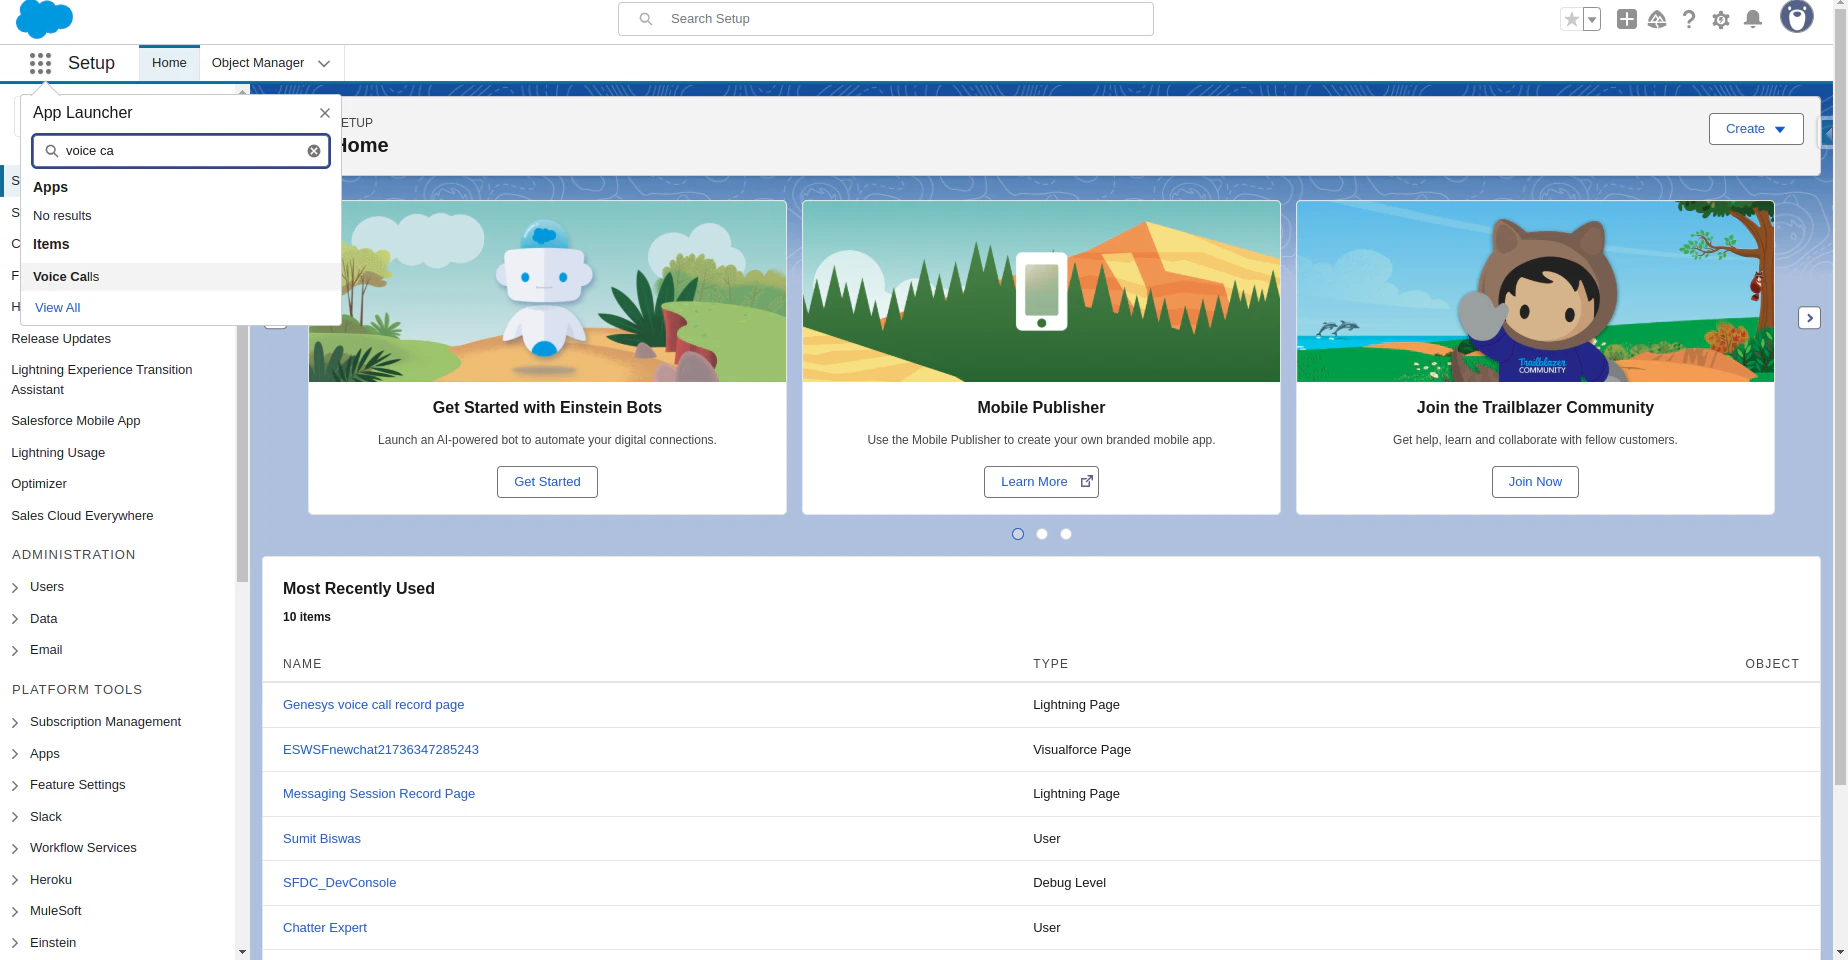
-
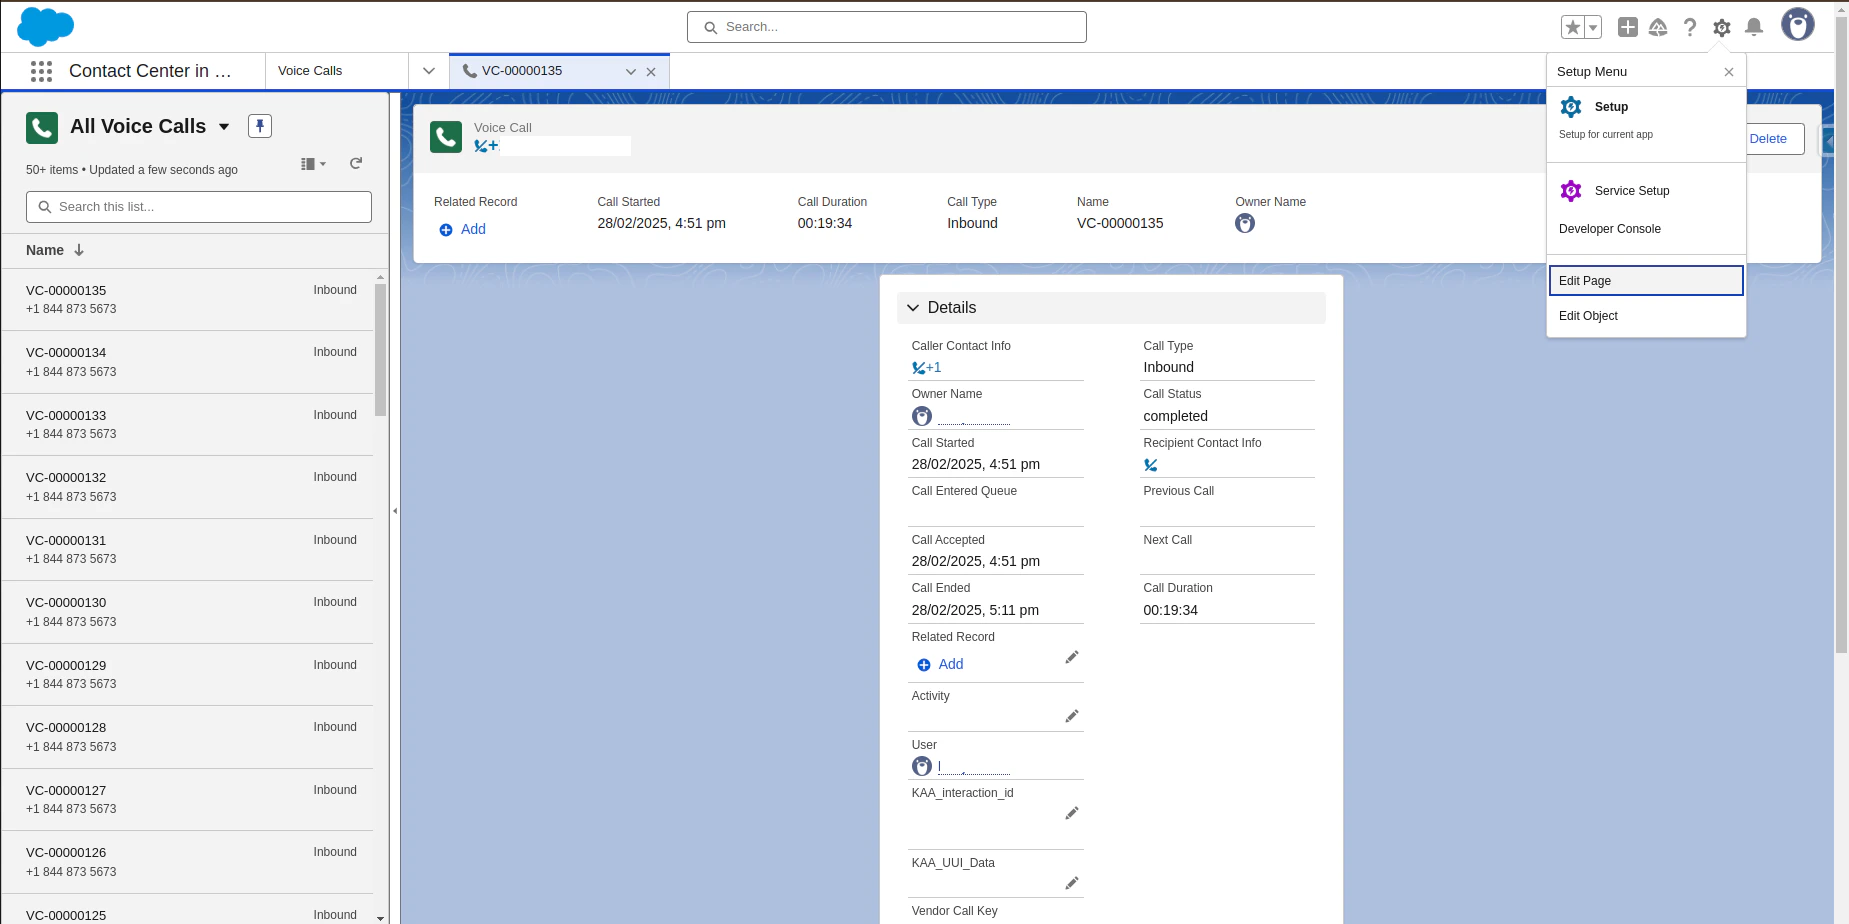
Open any voice call record page, and click the Gear icon.

-
Click Edit Page.
- In the search box, search for koreAgentAssistVoice. Components appear under the Custom-Managed section.
-
Drag the component to the required location on the screen and adjust the height and width as needed.
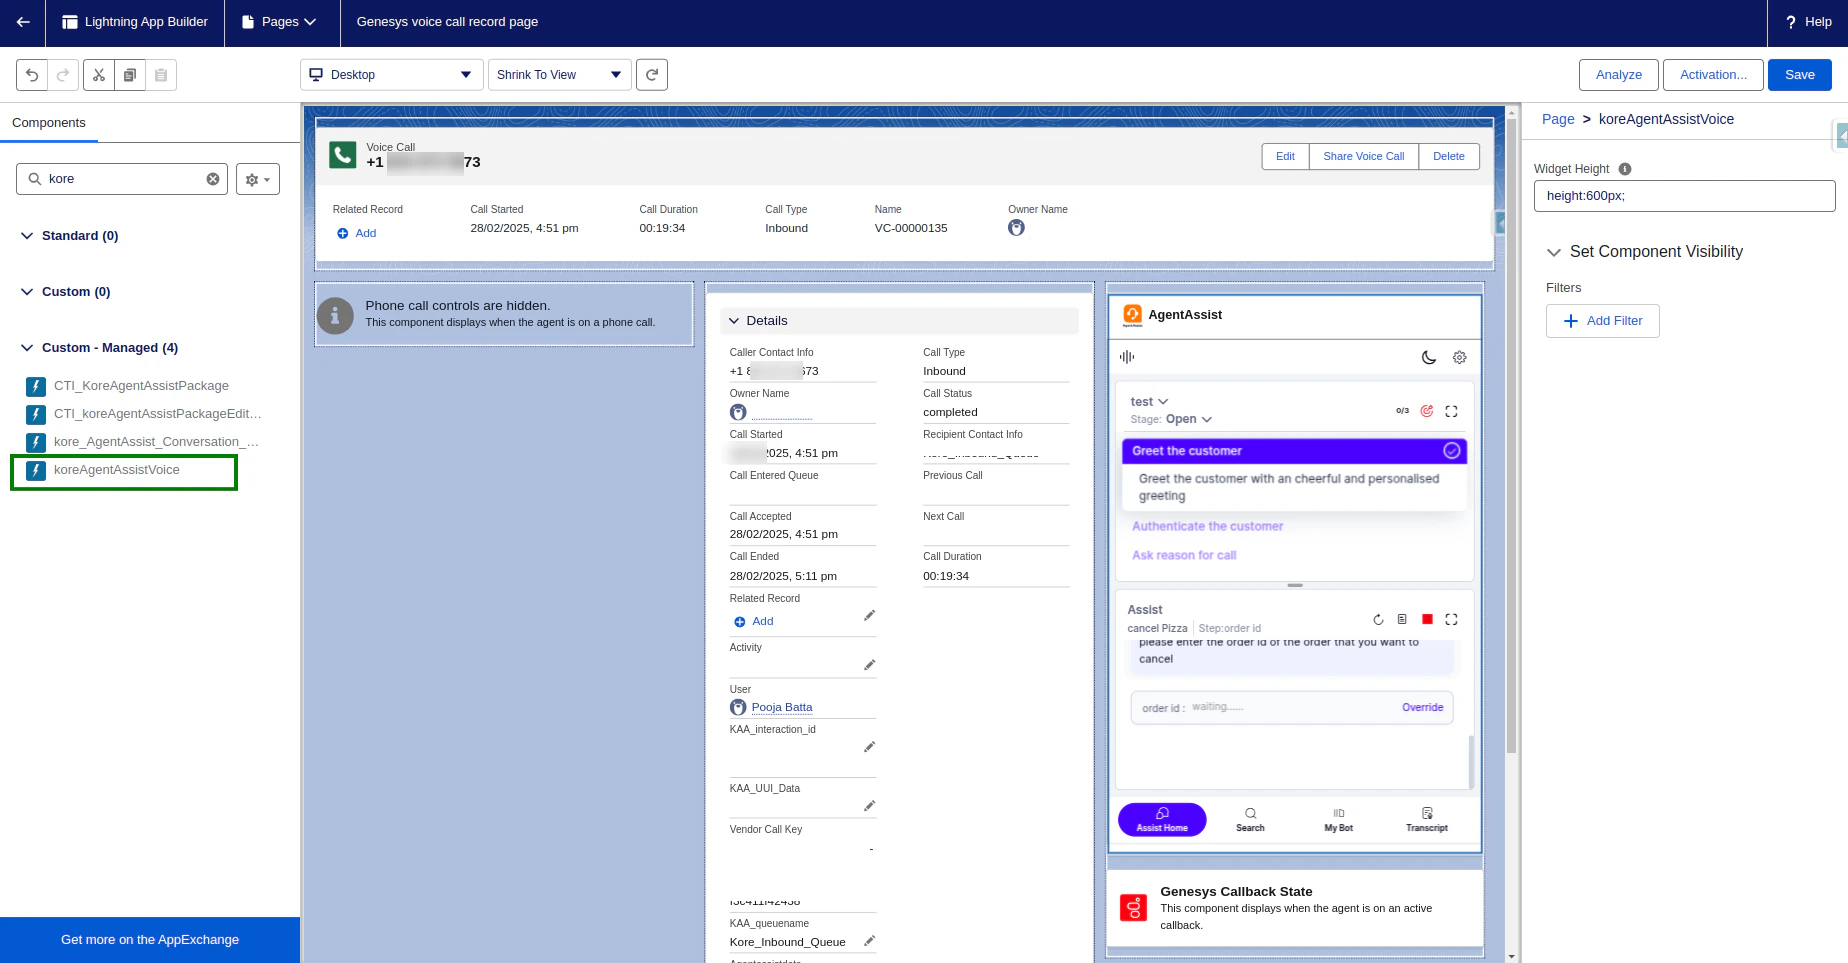
- Click Save.
Initiate the Voice
- Click the app launcher, and type Service Console or the name of the Lightning app you created in the quick search bar.
- Select Service Console in the suggestions list.
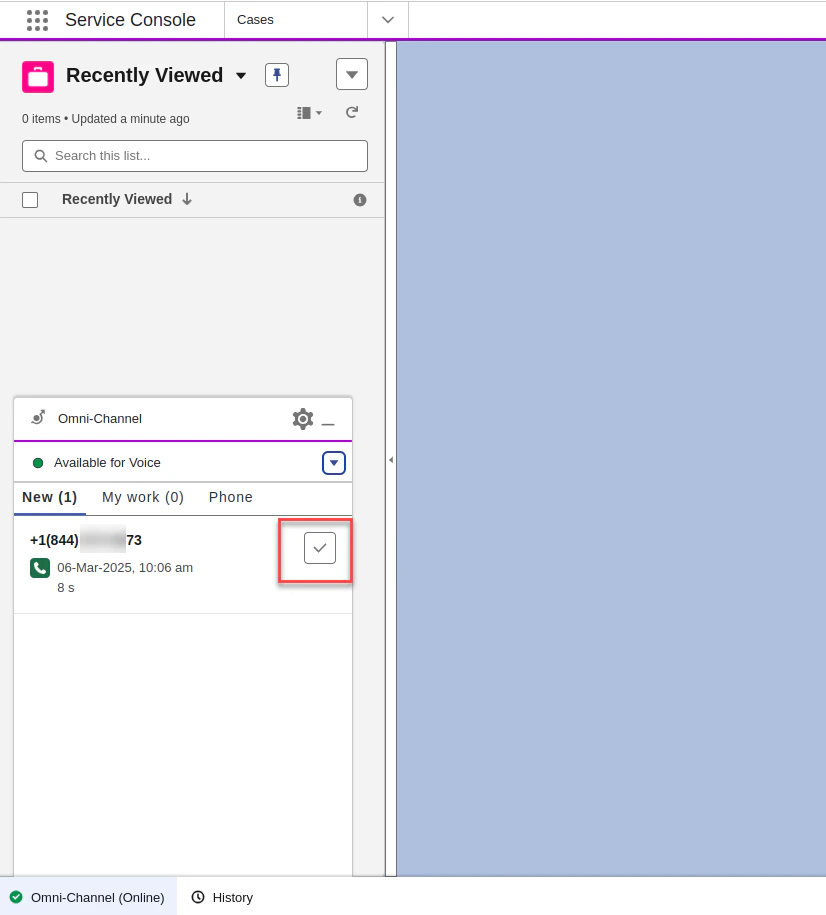
- At the bottom of the page, in the Utility Bar, click Omni-Channel and change the status to Available for Voice.
-
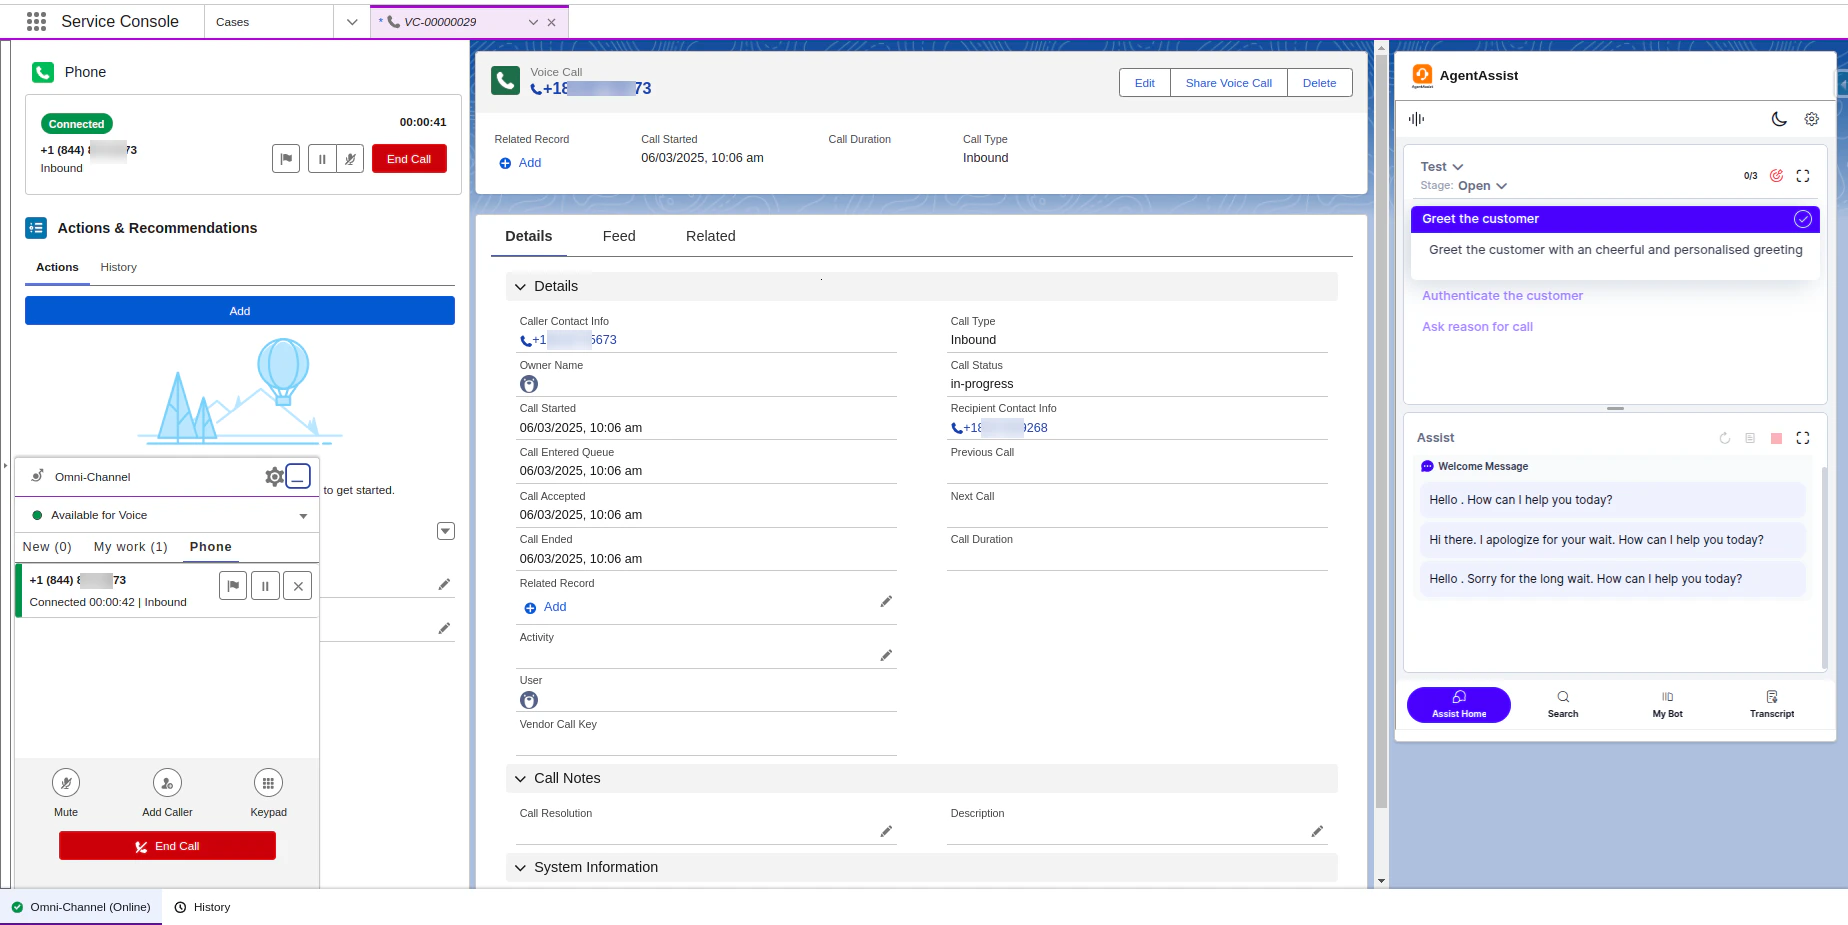
When a user calls an agent, a voice call record page pops up automatically. Accept the call by clicking the tick mark button, as shown in the following image:
-
After the agent accepts the call, the voice call record page appears with the Kore Agent AI widget on the right side.