Enable a Channel
To enable one or more channels for your AI Agent, follow the below steps:- Open the AI Agent for which you want to add the channels.
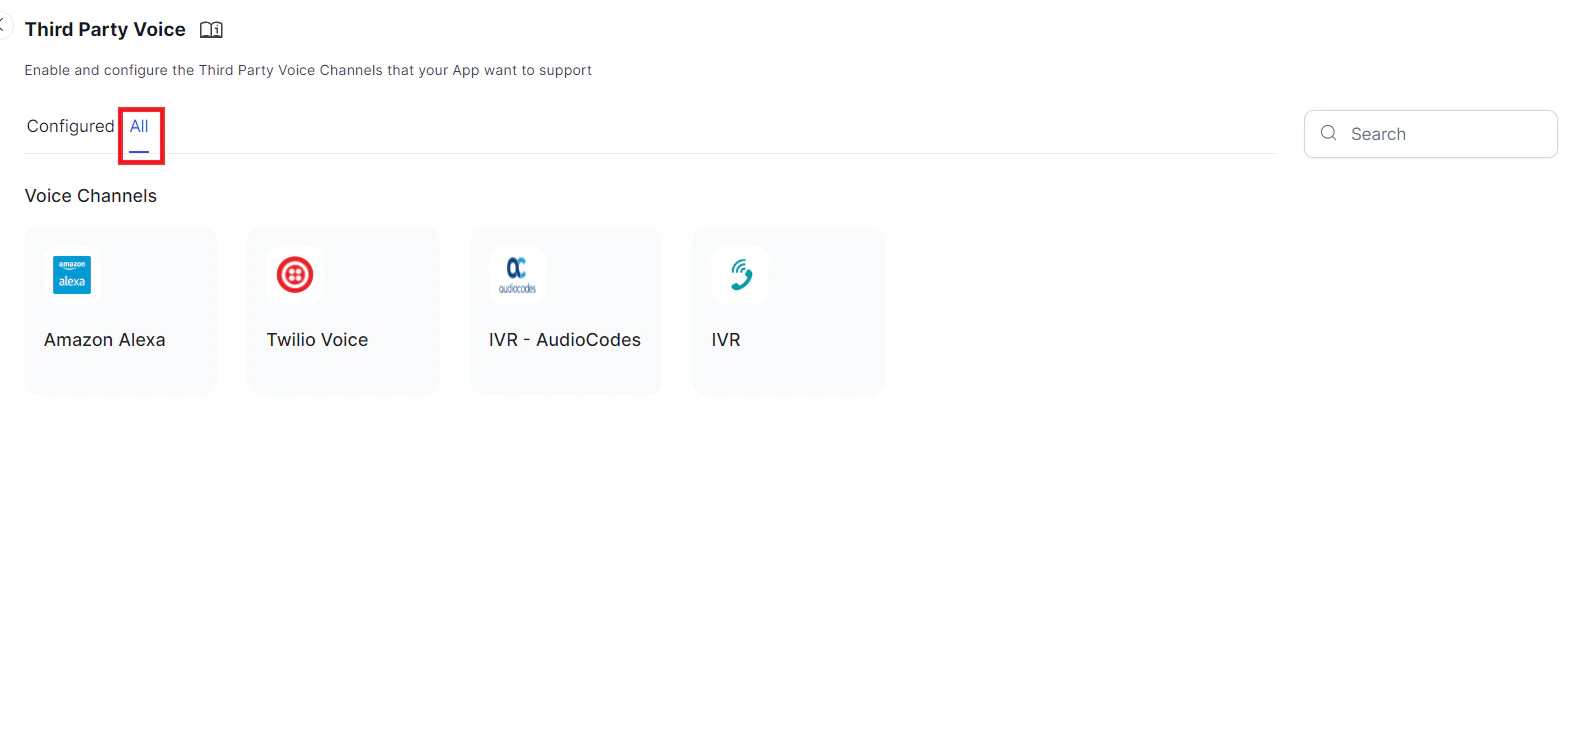
- Go to Channels & Flows > Channels > Third Party Voice > All.
- Click the channel you want to add. This opens the instructions page to install the channel.
-
Click Next or the Configuration tab to open the configuration page for the channel. The following image shows the configuration page of the Amazon Alexa channel.
 After adding the channel, the AI Agent needs to be published for approval and the App Admin needs to approve the AI Agent (with new channels). The new channel is not available to users until the Admin explicitly approves that channel for your AI Agent.
 - The configured channel is displayed on the Configured tab of the Third Party Voice page and same channel is removed from the All tab.
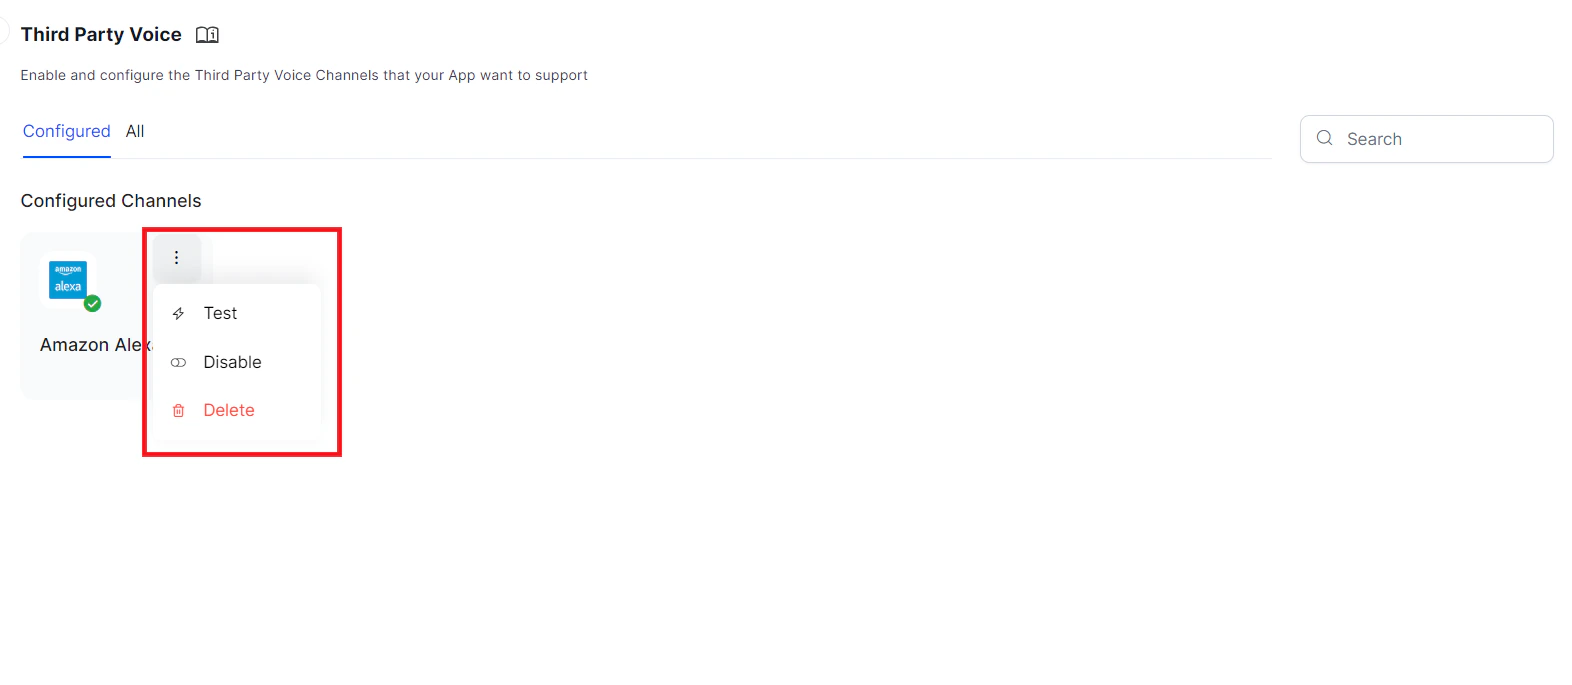
Testing, Disabling or Deleting Channels
To test, disable or delete the channel, go to Channels & Flows > Channels > Third Party Voice > Configured list, hover over the channel and click more option in the top right corner. Click Test, Disable, or Delete as required and follow the instructions.Please also note that channel edits will only take effect within your live AI Agent after publishing the In Development version of the AI Agent with the channel enabled. For more information, please see Publishing your AI Agent.