
Configure the Node
General Settings
In General Settings, configure the following: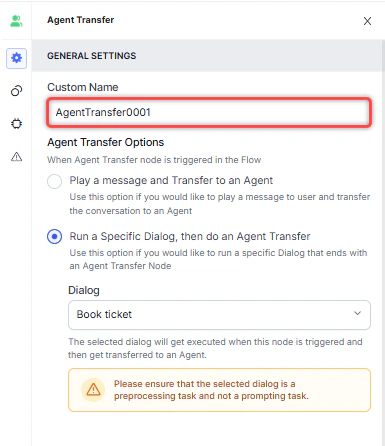
- Custom Name: Enter a name to identify the node.
-
Agent Transfer Options: Select one of the following:
-
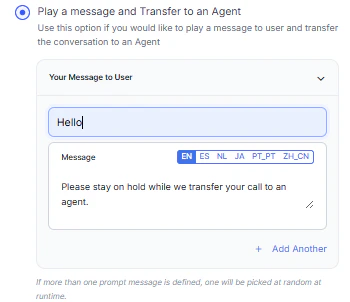
Play a message and Transfer to an Agent: Plays a message to the customer before transferring to an agent.
- Click + Create New to write a message, or + Add Another to define multiple messages (one is randomly selected at runtime).
-
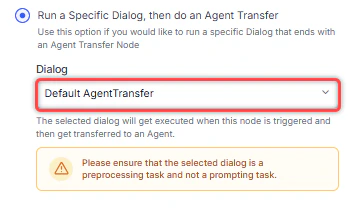
Run a Specific Dialog, then do an Agent Transfer: Runs a selected dialog before performing the transfer.
-
Play a message and Transfer to an Agent: Plays a message to the customer before transferring to an agent.
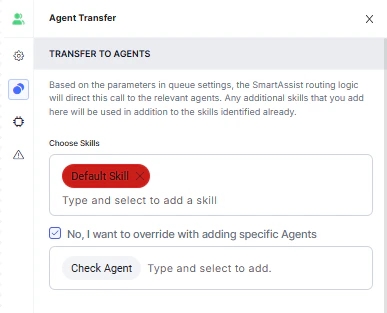
Transfer to Agents
In the Transfer to Agents section, configure the following:- Skills: Select skills to route the customer to an agent with matching skills.
- To route to a specific agent instead, select No, I want to override with adding specific Agents and choose an agent from the dropdown.
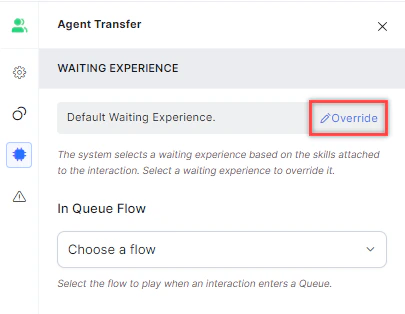
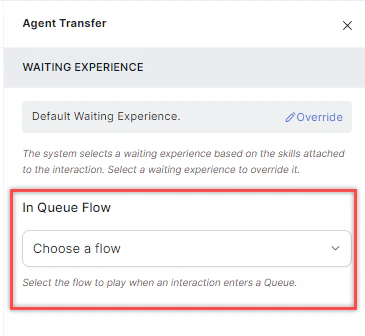
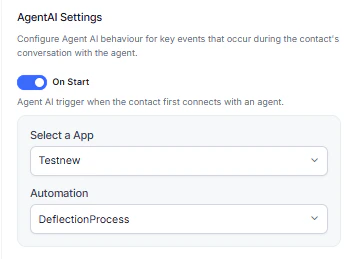
Waiting Experience
Click the Waiting Experience icon to configure what the customer experiences while waiting for an agent.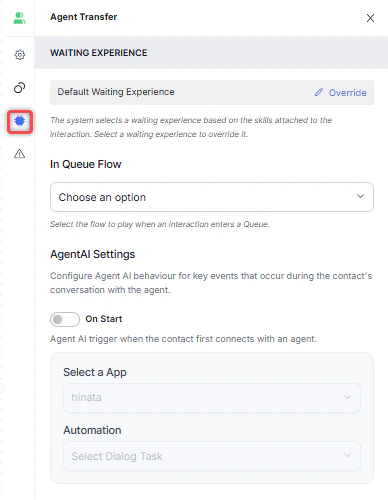
- Runs every time the interaction enters a queue, including transfers into a queue.
- Does not trigger during agent-to-agent transfers.
- Always results in an agent transfer.
Error Handling
Use this section to handle system errors during customer interactions.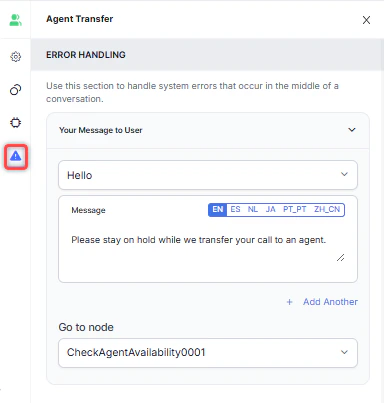
- Your Message to User: Select a message type (Text to Speech, Link, or Audio). Type the message, upload an .mp3 or .wav file, or provide a URL. If no message is configured, the default system message plays. See General Settings for details.
- Go to node: Select the node to direct the error handling flow. You can create a new node or select an existing one.