
Flow Nodes
The Flow Designer canvas lets you configure nodes that represent different parts of a flow. The Start node is the entry point of any flow and is available by default. You can drag any node onto the canvas to reposition it.Available Node Types
| Channel | Node | Description |
|---|---|---|
| Voice | IVR Menu | Presents a key-press menu to route callers to the appropriate flow. |
| Voice | IVR Digit Input | Collects numeric input from callers, such as a phone number or the last four digits of a credit card. |
| Voice / Chat | Split | Routes inbound queries to different branches based on defined conditions. |
| Voice / Chat | Check Agent Availability | Checks agent availability by skill set and routes the flow accordingly. (Experimental — may be deprecated in a future release.) |
| Voice / Chat | Check Business Hours | Routes the flow based on whether the query arrives within or outside configured business hours. |
| Voice / Chat | Message Prompt | Delivers automated messages to customers over voice or chat. |
| Voice / Chat | Automation | Runs a specific dialog from your XO Platform Bot. |
| Voice / Chat | Agent Transfer | Transfers an automated interaction to a live agent based on a defined trigger. |
| Voice / Chat | Connect to API | Makes synchronous or asynchronous SOAP or REST API calls. |
| Voice / Chat | Go To Flow | Navigates from a parent flow to a target flow for a specific part of the interaction. |
| Voice / Chat | Script Task | Runs a JavaScript script to process context or flow variables. |
| Voice / Chat | Set Queue | Defines or modifies queue settings and default messages. |
| Voice / Chat | End Flow | Plays a closing message to the customer when the flow ends. |
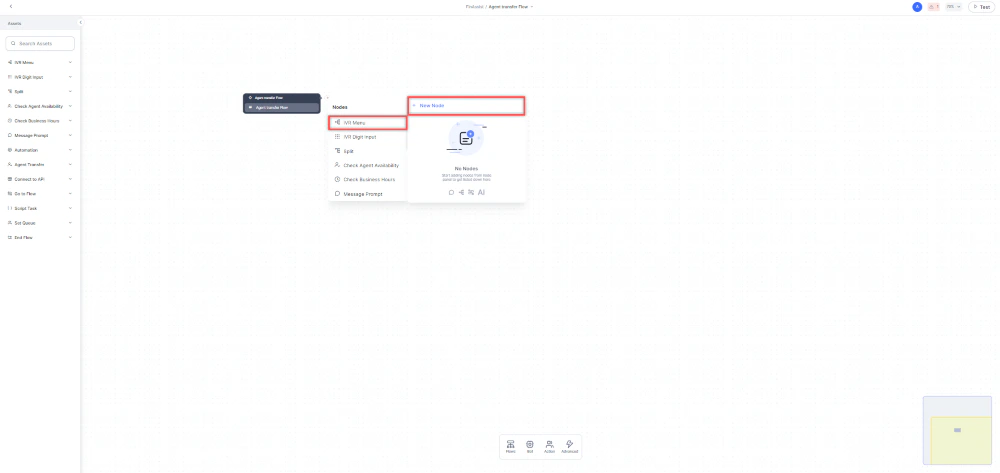
Add Nodes
Method 1: Click the + icon and select a node from the pop-up menu.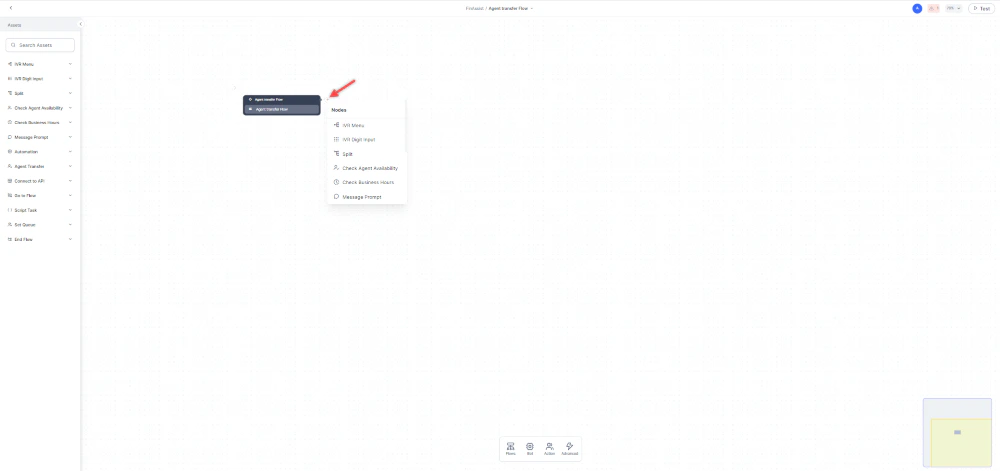
Configure Nodes
Click a node on the canvas to open its configuration panel.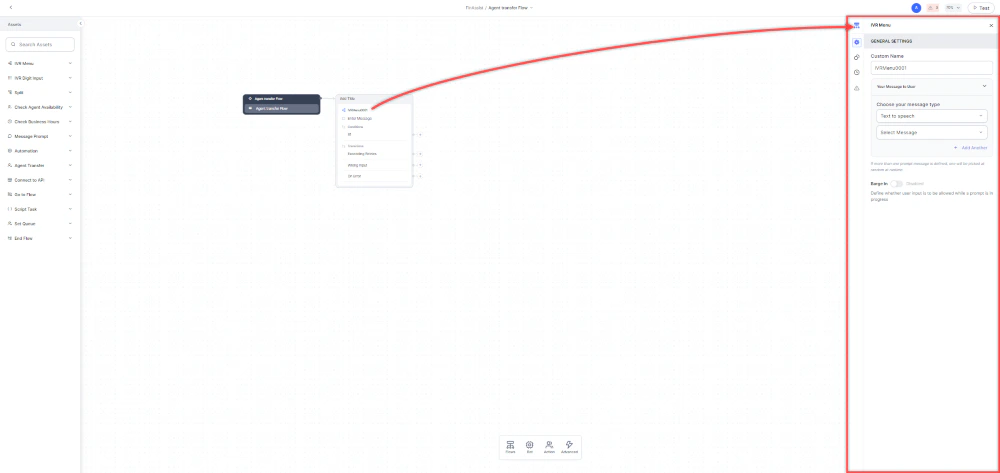
Rearrange Nodes
Drag and drop nodes to reposition them on the canvas.
Connect Nodes
Connections between nodes are made within node configuration or directly on the canvas:- Click the + on a node and drag toward the target node.
- A line with a directional arrow appears between the two nodes.
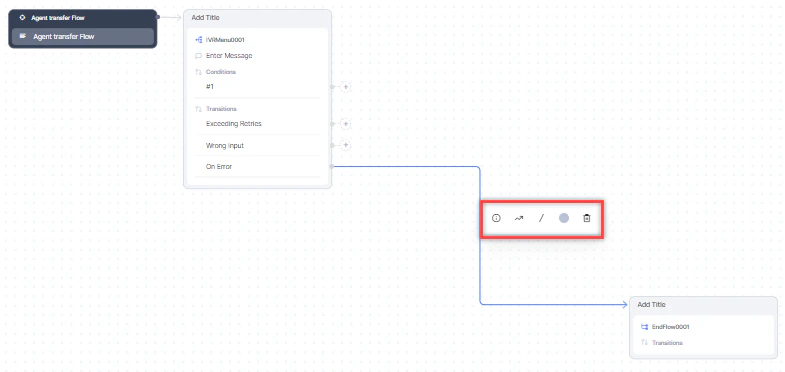
Edit or Delete Node Connections
Click the line connecting two nodes to highlight it. A pop-up appears with these options:- Bend line connector
- Straight line connector
- Change line color
- Delete connector
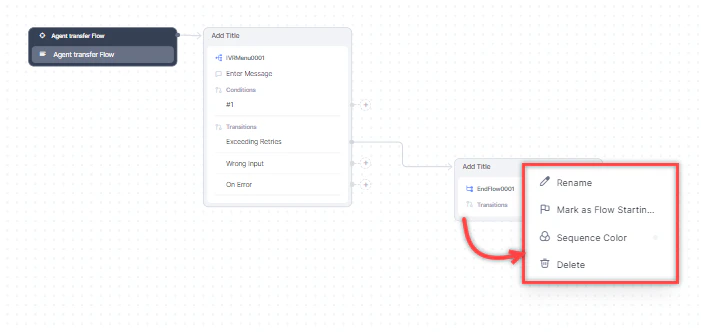
Edit or Delete Nodes
Right-click a node to access these options:- Rename
- Mark as Flow Starting Point
- Sequence Color
- Delete
- Deleted nodes cannot be restored unless a saved version containing them exists. Restoring a version may cause other flow changes to be lost. See Restore Versions for details.
- The Start node cannot be deleted.
