
Adding If-Else Conditions to Sequence Connections
The platform allows you to use If-Else conditions to configure node connections when you want the conversation to follow specific paths depending on specific information. Example: In a Book a Flight dialog task, if the AI Agent detects 5 or fewer passengers, it presents the standard offer; otherwise it presents a promotional offer.Types of Conditions
- If – Directs the conversation on a specific path if specific criteria are met. Lets you configure Entity, Context, and Intent criteria.
- Else – Sets the node connection when the If condition criteria are not met. Only allows you to configure the next node to connect to.
- Else If – Configures another set of criteria when the initial If condition is not met. Lets you configure Entity, Context, and Intent criteria.
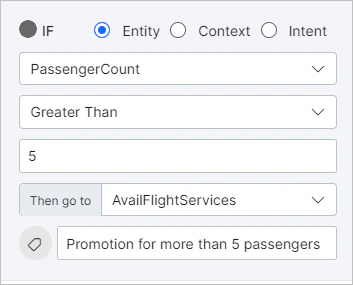
- IF PassengerCount is greater than 5 → connect to the Group Promotion node.
- ELSE IF ArrivalCity equals London → connect to the London Destination Package node.
- ELSE → connect to the Standard Flight Booking node.
Navigate to Sequence Connection Conditions
Sequence connection conditions are available within the node configuration panel of all node types, under the Connection Properties tab.Connection properties are available only for the bottommost node of any sequence.
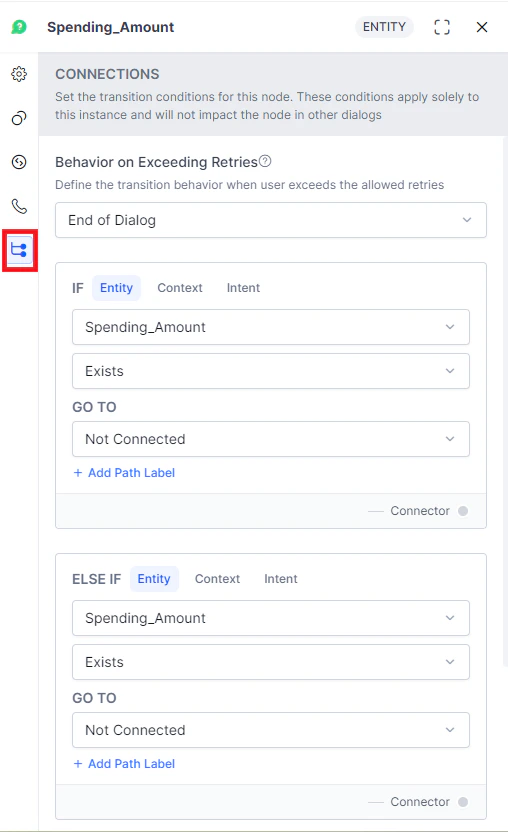
Add If / Else Connection Conditions
Under the Connection Properties section, click Add IF or Add Else If. You can configure the conditional expression based on one of the following criteria:In a conditional connection, if entity type, context type, or intent type is an array, then the operator “contains” is supported.
Entity
Compares an Entity node in the dialog with a specific value:- Select the Entity (based on the Entity Node).
- Select an Operator: exists, does not exist, equal to, greater than or equal to, less than or equal to, not equal to, greater than, less than, or contains.
- Enter a Value (not displayed when exists or does not exist are used as operators). You can enter a static value or a dynamic variable such as context, environment, or content — type the variable type followed by a dot (
.) and select from the pop-up list. - In the Then go to dropdown, choose the node to connect to if the condition is met.
- Click Add Path Label to label this conversation path.
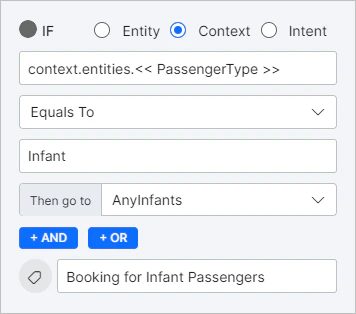
Context
Compares a context object in the dialog task with a specific value:- Select the Context object. Follow the required syntax — see the Context Object article for details.
- Select an Operator: exists, does not exist, equal to, greater than or equal to, less than or equal to, not equal to, greater than, less than, or contains.
- Enter a Value (not displayed when exists or does not exist are used as operators). You can enter a static value or dynamic variable.
- In the Then go to dropdown, choose the node to connect to if the condition is met.
- Click Add Path Label to label this conversation path.
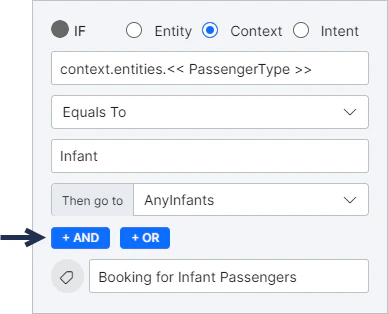
Add And/Or Logic
You can configure multiple context-based If conditions using And/Or logic. Within the same condition, you can use either one or the other — not both.- AND – Both or all criteria must be met.
- OR – Either one or another of the criteria must be met.

Intent
For Entity nodes, this criterion lets you select a follow-up intent that matches the user utterance to determine the next node. The context.FollowupIntents parameter is preselected — you can connect to a specific node if a follow-up intent exists or contains a specific value.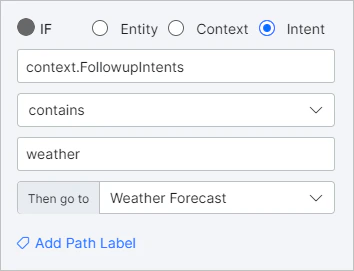
Delete Conditions
Hover over a condition and click the bin icon on the top right to delete it.
Node Type Applicability
- For all node types except Message and Agent Transfer, the only available Intent condition criterion is context.FollowupIntents.
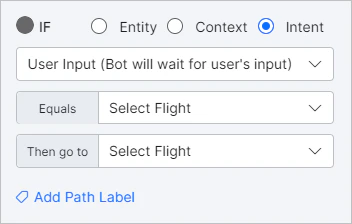
- For Message Nodes, the Intent condition criterion provides two options: context.followupintent and User Input.
- Primary Intent nodes do not allow connection conditions at all — you can only choose the next node to connect to. Intent nodes that follow other nodes within a Dialog Task do allow connection conditions, but the Intent criterion only allows setting a follow-up intent using the context object.
- Agent Transfer nodes provide no options to connect to a subsequent node — this node ends the AI Agent’s process and sets End of Dialog after the transfer.
Sub-Intent Scoping Using Node Groups
Node groups define a group of nodes but are not part of the dialog flow. They are primarily used to scope sub-intents — controlling which sub-intents can be identified and executed while the user is at any node within the group. See Manage Node Groups for the advantages of grouping nodes in a sequence.Add a Node Group
- Open the dialog task where you want to add the group.
- Group the nodes. See Manage Node Groups for steps.
- Add, remove, edit, or delete nodes from the group at any time.
Configure a Node Group
Node group configuration includes:- Scoping of Intents – Define sub-intents available while the user is at any node in the group.
- Sub-intent Training – Train the sub-intent for recognition within this group.
- Sub-intent Properties – Define the behavior of the sub-intent.
Sub-Intent Scoping
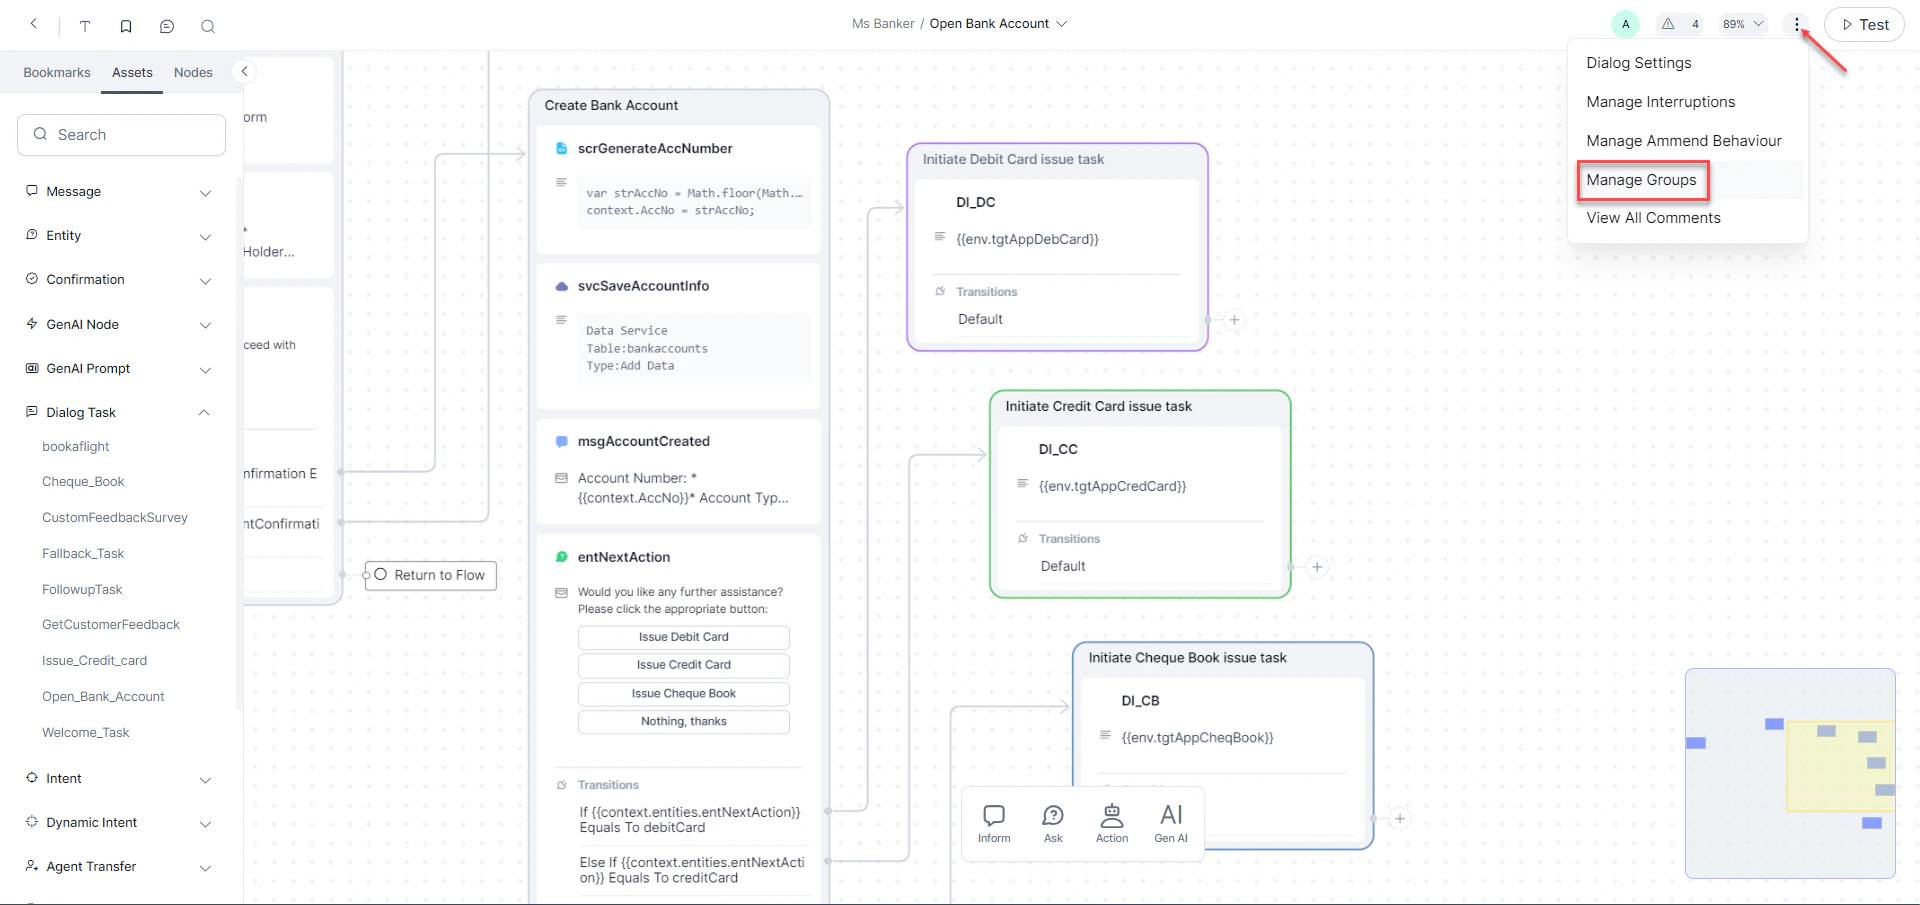
-
Open the dialog task. Navigate to More Options > Manage Groups.
- Click the Node Group you want to scope the intents for.
-
Click the Sub Intent icon.

-
Click + New.

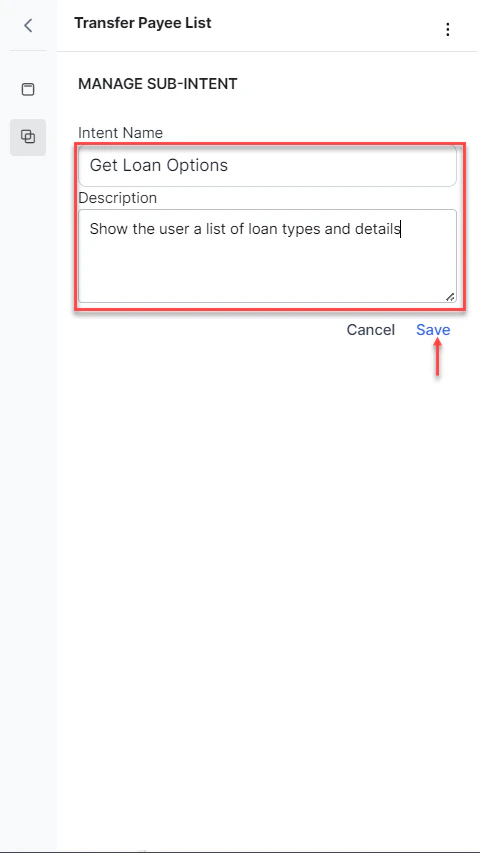
-
Provide a Name and Description for the Sub Intent, and click Save.
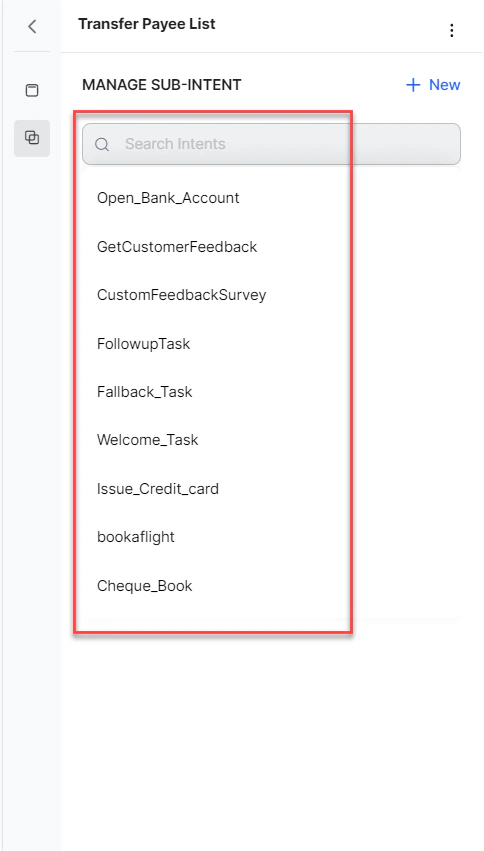
Sub-Intent Training
- Under MANAGE SUB INTENT, select the sub-intent you want to train.
-
Train it using:
- Machine Learning – Add user utterances that should identify this sub-intent. You can also use the NER approach to annotate entities in utterances.
- Patterns – Identify patterns in user utterances related to this sub-intent.
- Rules – Define intent identification rules to trigger this intent.
-
Set Intent Preconditions — the sub-intent is identified only when the preconditions defined are available in context at the time of intent detection. These preconditions are instance-level and take precedence over component-level preconditions.

Sub-Intent Properties
The fulfillment section defines actions when a sub-intent is identified:-
Context Variables – Set key-value pairs to update session or context variables. Use the keyword
nullto reset values (spaces are ignored). - Present a Message – Optionally define a message to present to the user. Supports plain text, JavaScript format, and Voice Call Properties where applicable.
-
Context Output – Define context tags to set when this intent is identified. The intent name is always set as output context by the system. Use
nullto reset values. -
Transition Flow – Define how the dialog resumes after executing the sub-intent:
- Jump To A Node – The dialog resumes from the specified node.
- Resume The Dialog – The dialog resumes from the node where the intent was identified.

Implementation
For every identified sub-intent, the context object is updated with an array of objects containing sub-intent details (latest at the top):- Name of the sub-intent
- Entities identified along with the sub-intent
- Name of the group the sub-intent belongs to (where applicable)
- Name of the node at which the sub-intent was identified
- Updating context variables as per the defined mapping.
- Setting the Output Context as per the defined mapping.
- Presenting the message to the user, if applicable.
- Continuing the dialog as per the transition flow (jump to node or resume from current point).