Service Level
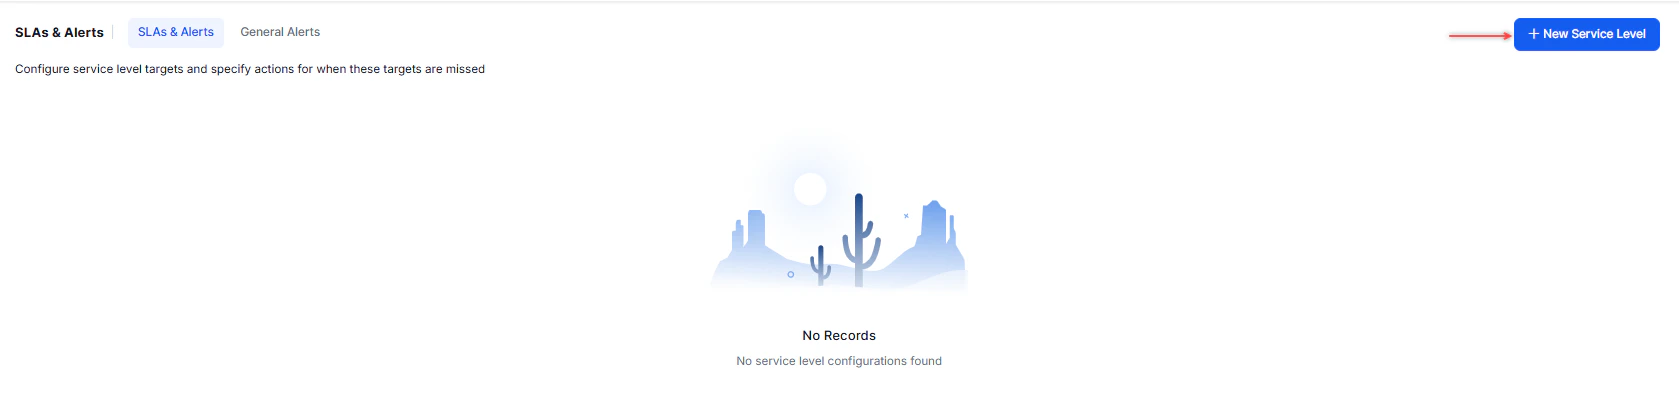
Create a Service Level
-
Select + New Service Level in the upper-right corner.
-
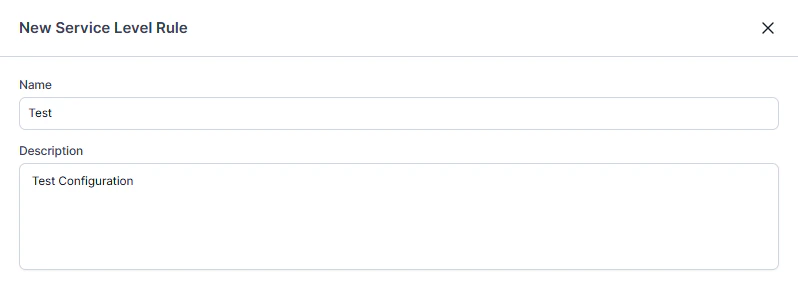
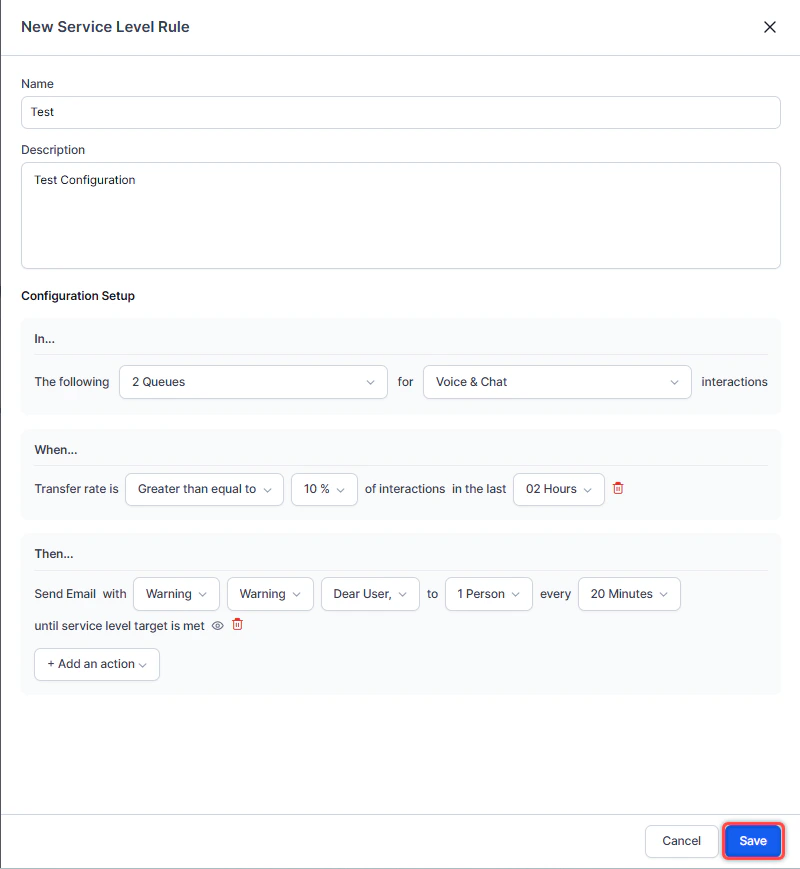
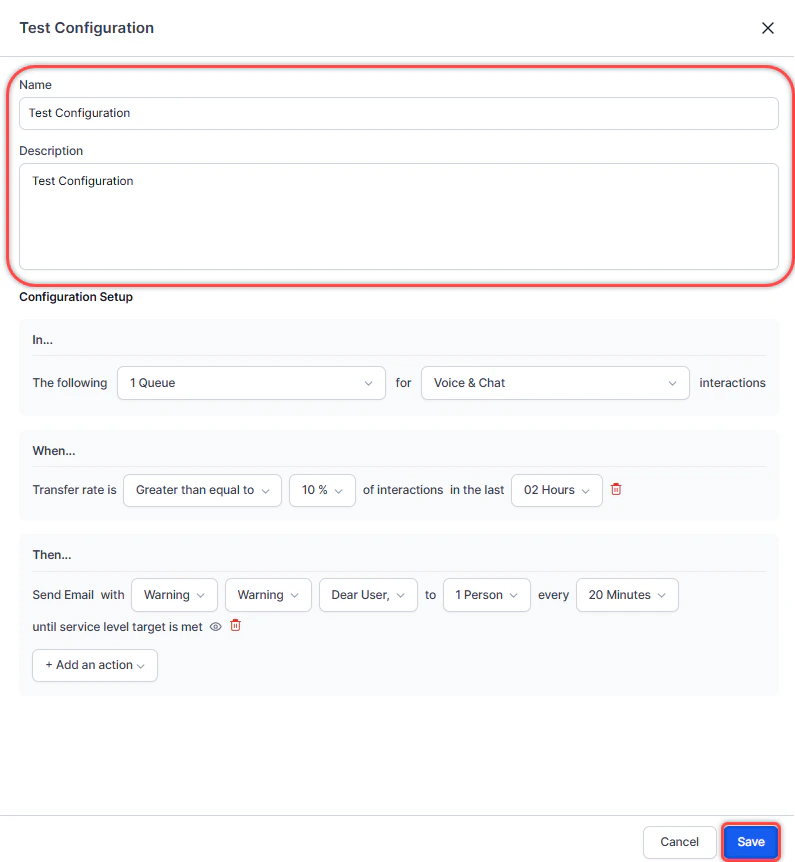
In the New Service Level Rule panel, enter a Name and Description.
-
Under Configuration Setup, select the Queues and Channels.

-
Select a trigger.

Trigger Screenshot Abandonment Rate 
Average Speed to Answer (ASA) 
Response Service Level (RSL) 
Transfer Rate 
-
Select + Add an action and choose an action.
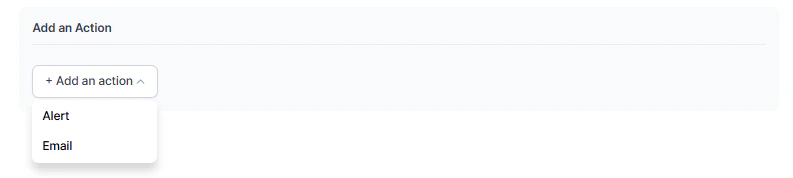
Action Screenshot Alert 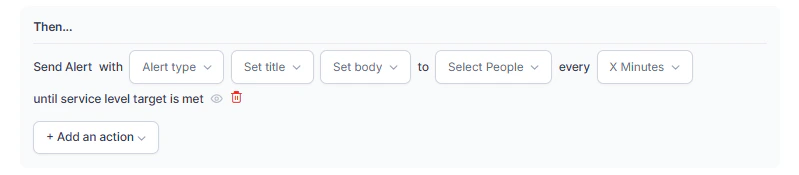
Email 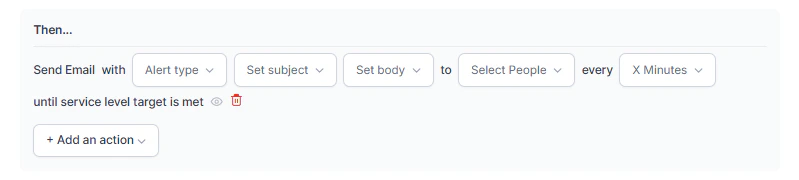
-
Select Save. A confirmation message appears and the service level is created.
Edit a Service Level
-
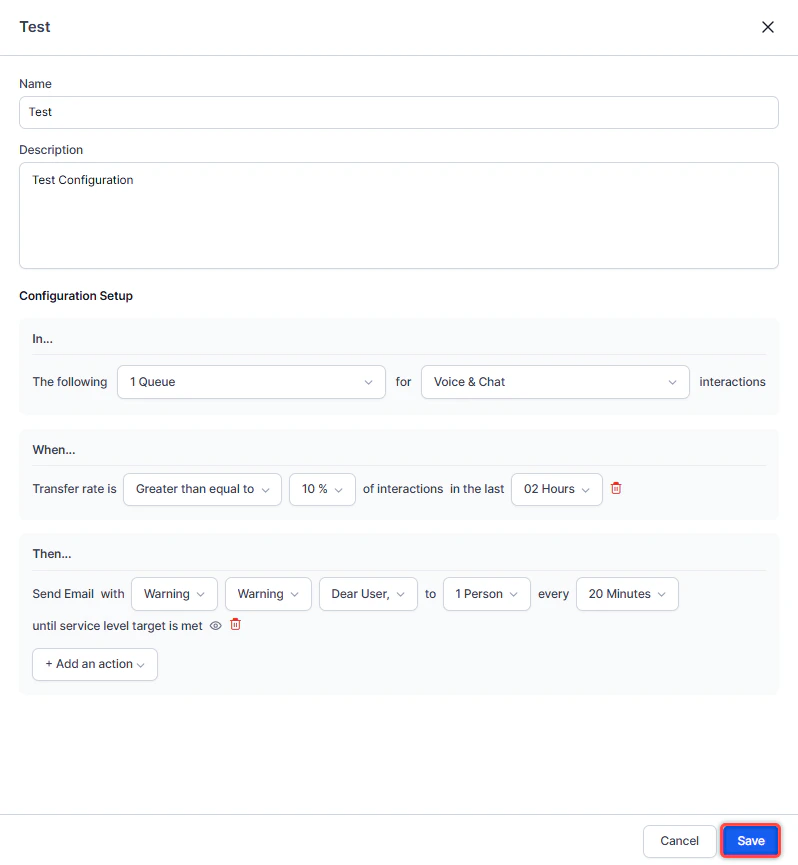
Select Edit.

-
Make your changes and select Save. A confirmation message appears.
Edit a Service Level Name
-
Select Edit.
-
Update the Name or Description and select Save. The updated name appears.
Delete a Service Level
-
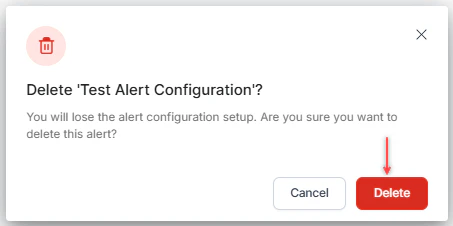
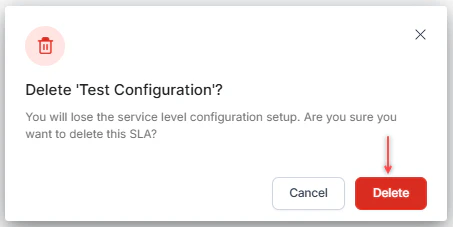
Select Delete.

-
Confirm by selecting Delete. A notification appears and the service level is deleted.
General Alerts
General Alerts let administrators and supervisors set up notifications for operational metrics and system events. For example, you can trigger alerts when users export:- The Interaction Details Report
- Data from the Interaction Dashboard
- The Interaction Details Report by Segment
Create a General Alert
-
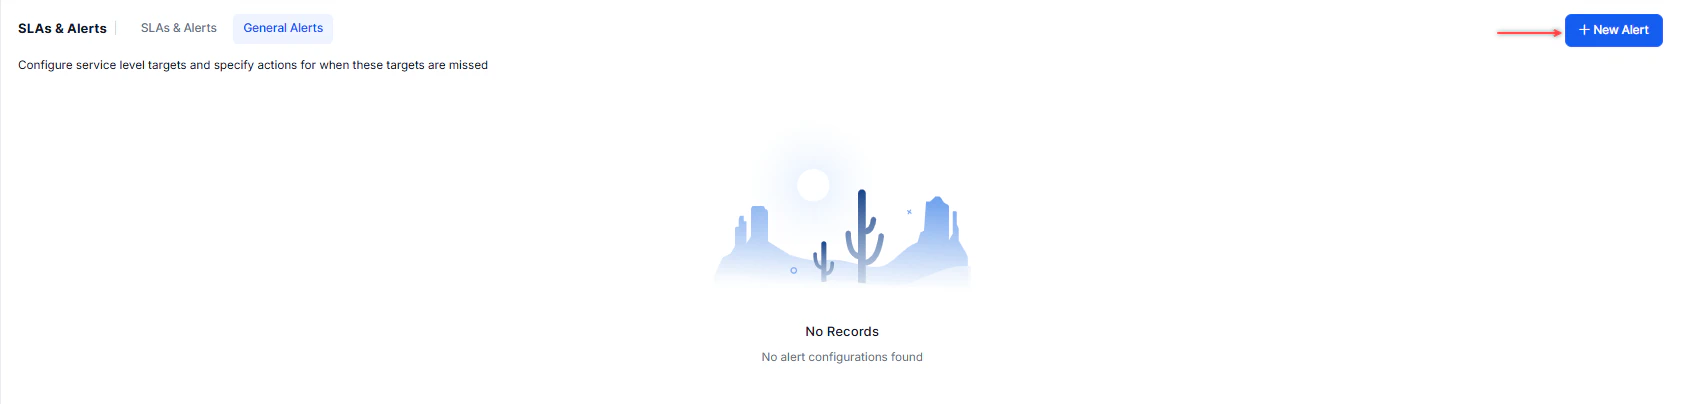
Select the General Alerts tab, then select + New Alert in the upper-right corner.
-
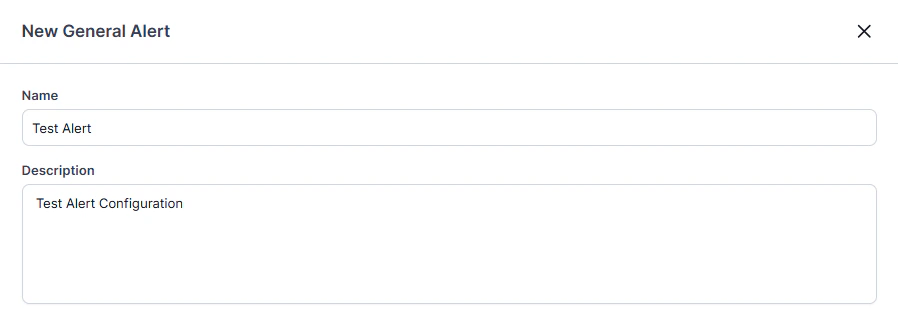
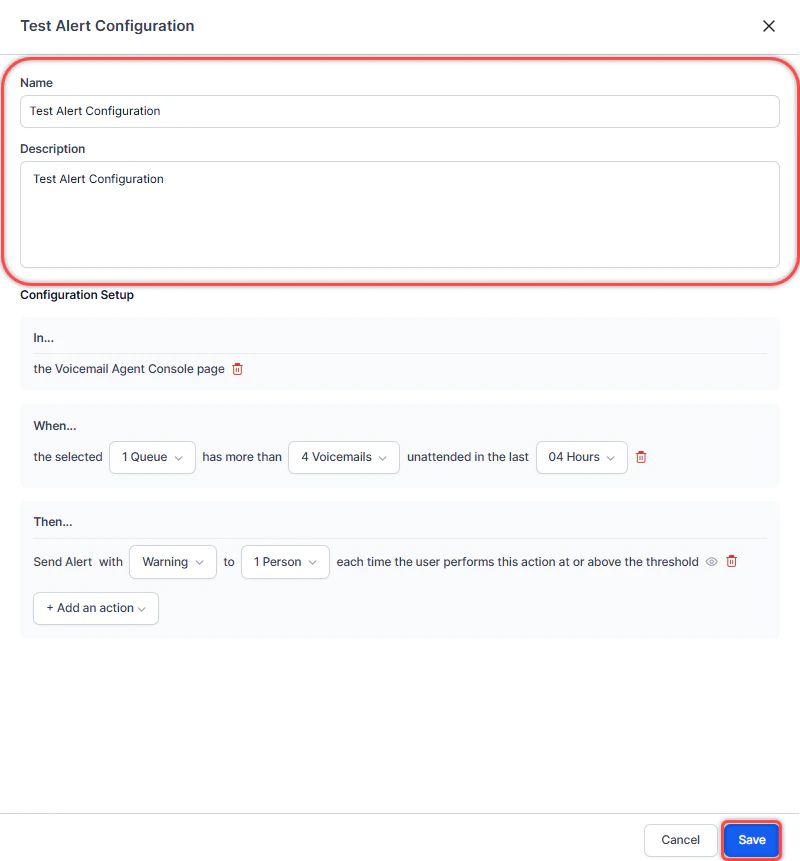
In the New General Alert panel, enter a Name and Description.
-
Under Configuration Setup, select a module and configure it as follows.
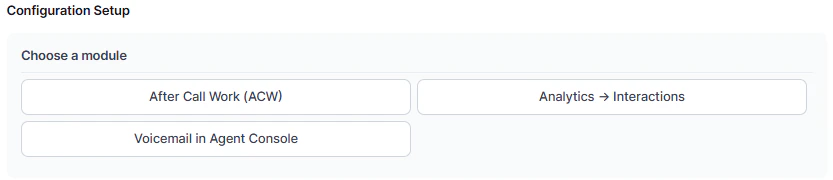
After Call Work (ACW)
-
Select the Queues, Channels, and Duration.
-
Select + Add an action and choose an action.
Action Screenshot Alert 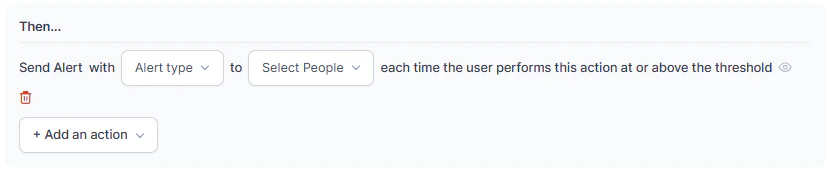
Email 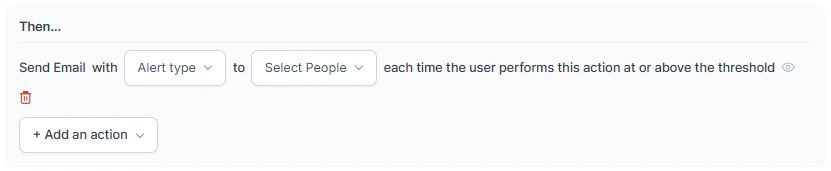
- Select Save. A notification appears and the alert is created.
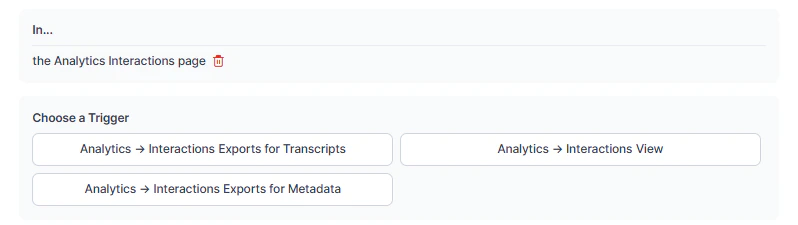
Analytics > Interactions
-
Select a trigger.
-
Set the number of times the system exports data within the selected time interval.

-
Select + Add an action and choose an action.
Action Screenshot Alert Email -
Select Save. A notification appears and the alert is created.
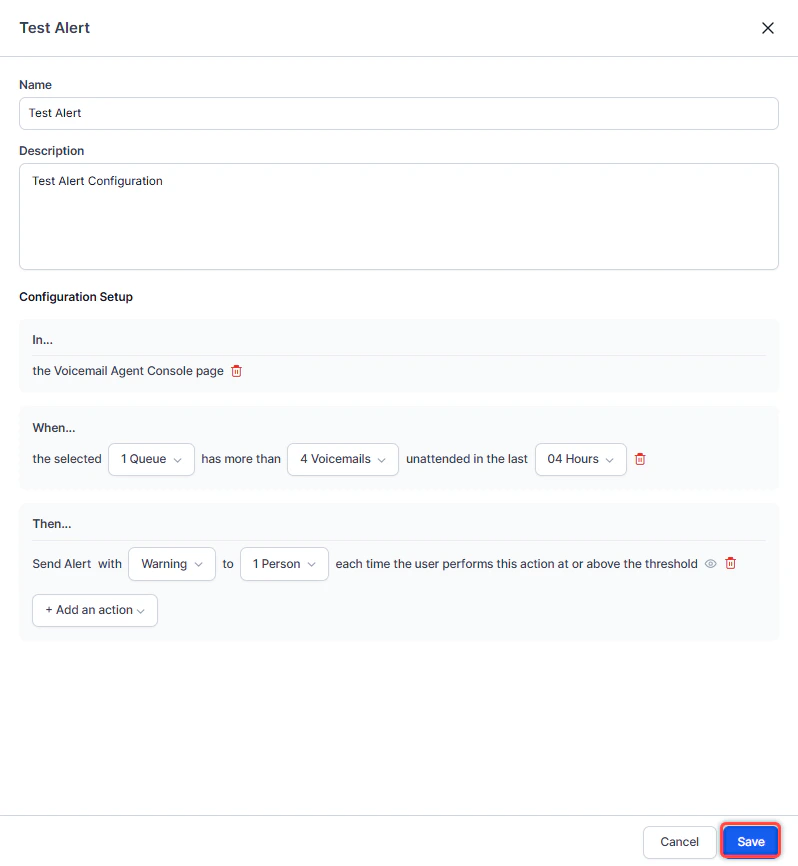
Voicemail in Agent Console
-
Select the Queues, number of Voice Mails, and Time Interval.

-
Select + Add an action and choose an action.
Action Screenshot Alert Email - Select Save. A notification appears and the alert is created.
Edit a General Alert
-
Select Edit.

-
Make your changes and select Save. A confirmation message appears.
Edit a General Alert Name
-
Select Edit.
-
Update the Name or Description and select Save.
Delete a General Alert
-
Select Delete.

-
Confirm by selecting Delete. A notification appears and the alert is deleted.